Setup guide
Pick your role and follow along. Every screen is shown as it looks in the app.
Customer setup
Five minutes once, then it works at every Rinsepay wash: bays, vacuums and vending machines.
Install the app
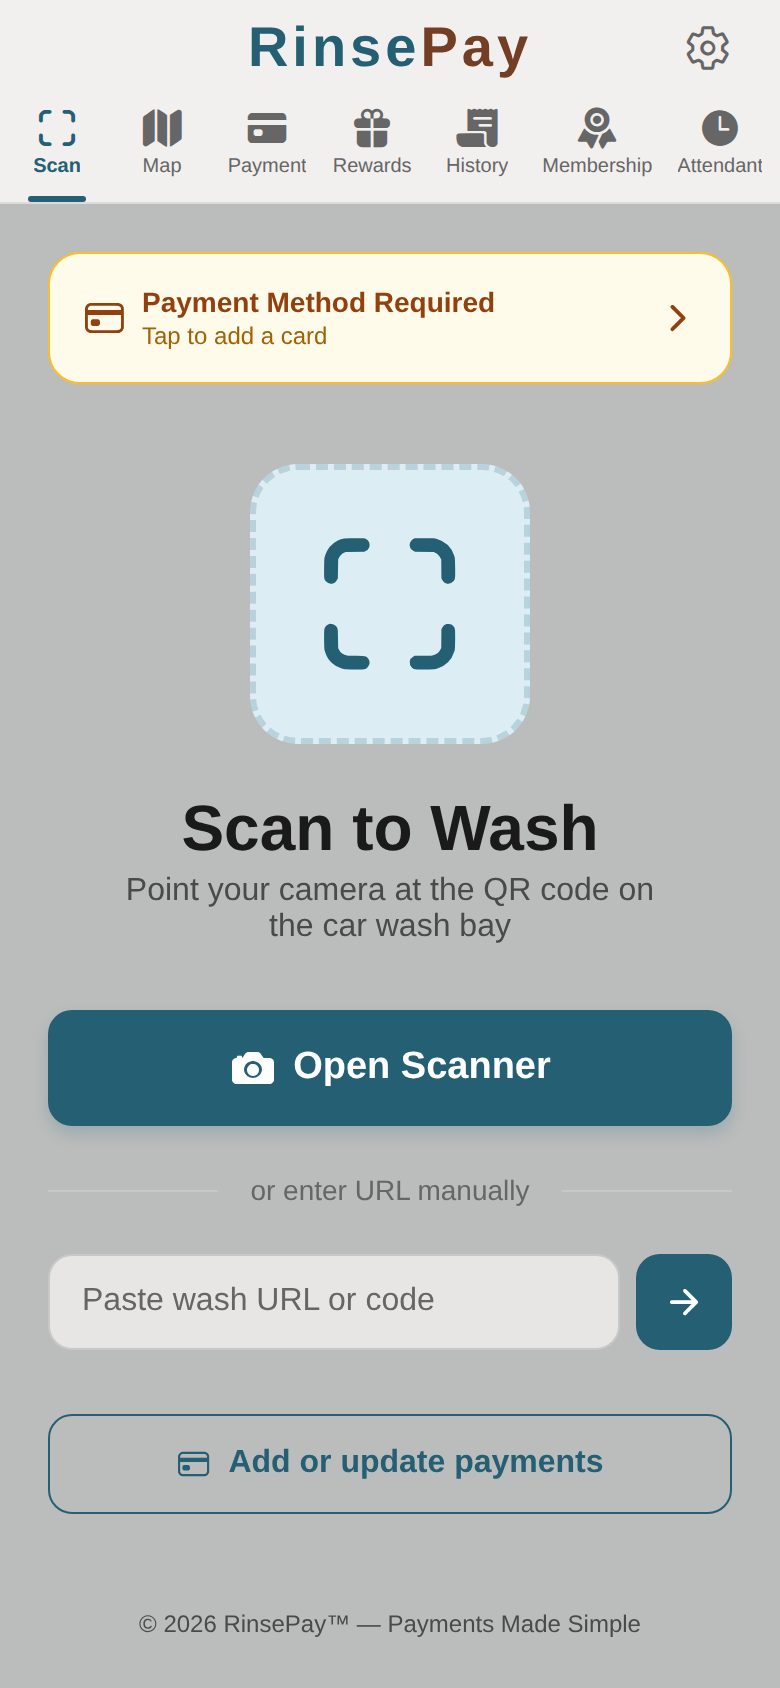
Download Rinsepay from the App Store or Google Play. Create an account with your email and phone number, then tap the link in the verification email.
Add a card
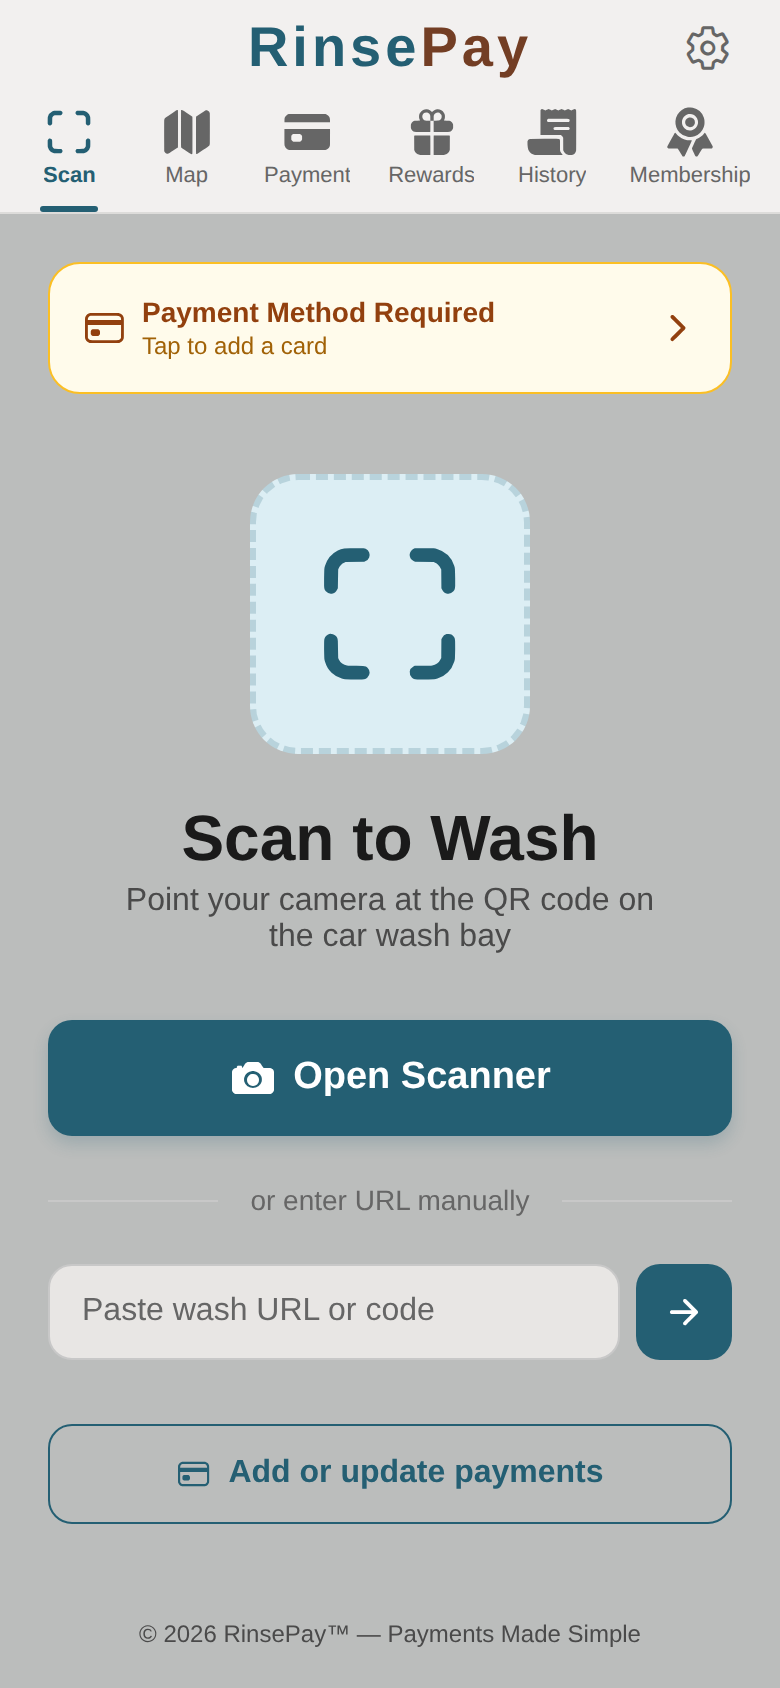
Open Payment methods and add a card. Apple Pay and Google Pay work too. Your card is stored by Stripe, never by the wash.
Scan the QR code at the bay
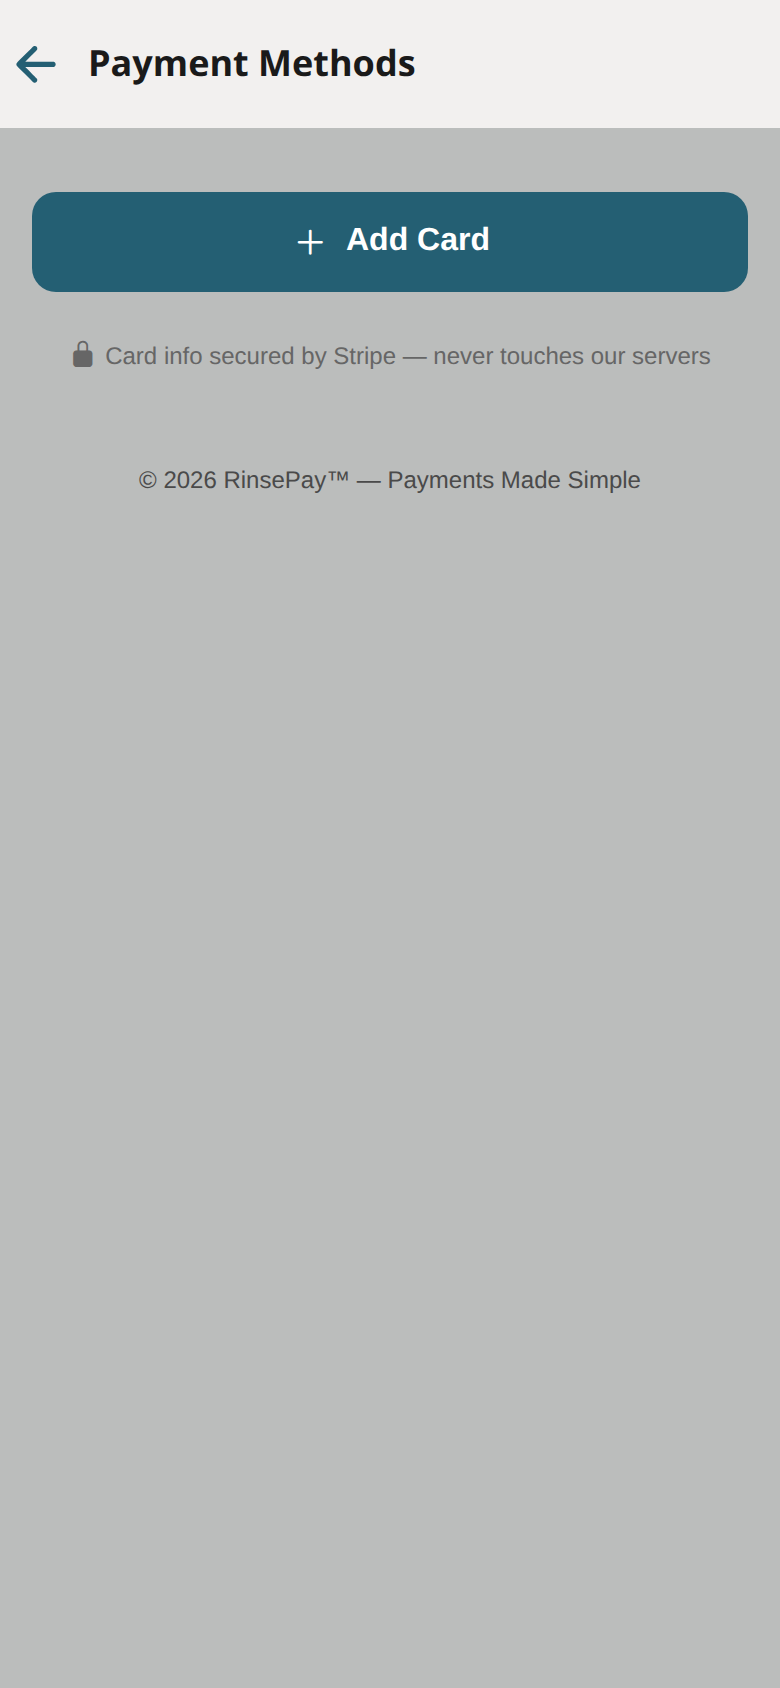
Pull in, tap Wash, and scan the QR code on the sign. The app opens that exact bay. No code to type, no kiosk.
Start a wash
Automatic bay: pick a wash, add any add-ons (hot wax, tire shine, dryer), check the total, tap Pay. The wash arms as soon as the charge goes through; drive in when the light says go.
Self-serve bay: pick a package or a custom amount. Time is added to the bay the moment you pay, the same as dropping coins. You can add more time from the app while you wash.
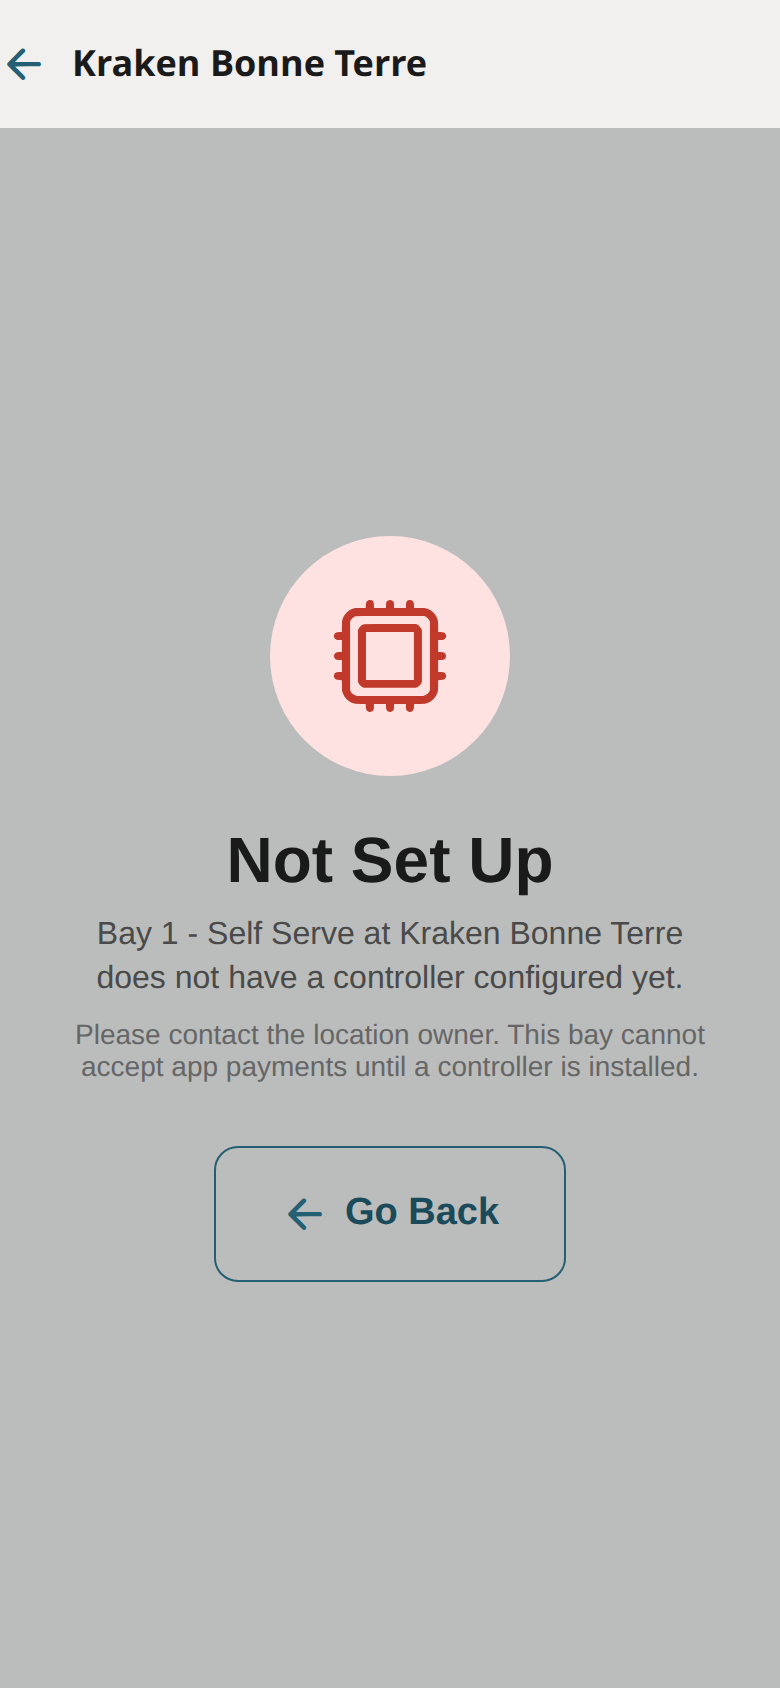
When the bay is busy or down
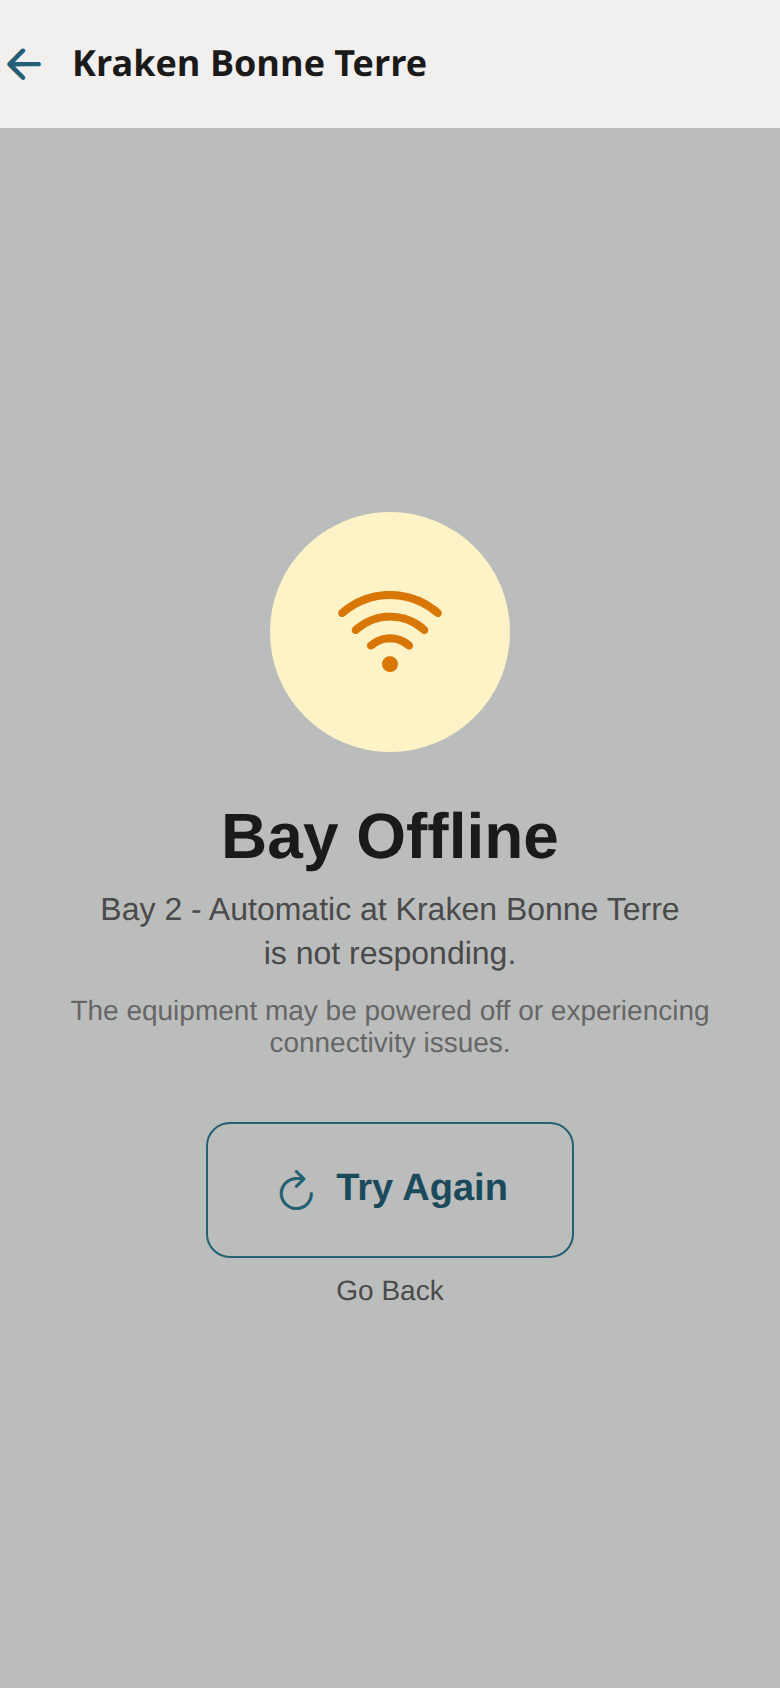
- In use: someone is still washing. If the owner allows it, tap Queue my wash; it is charged now and starts the moment the bay frees up. If it does not start within the owner's wait window, you are refunded automatically.
- Out of service: the buttons are off and the owner's message explains why. Pick another bay.
- Being updated: the controller is installing an update. Try again in a few minutes.
Add-ons
Add-ons are listed under the washes with their price. Members see Included in your plan on the add-ons their plan covers; anything else is charged to the saved card when the wash starts. Your receipt lists each line.
Vacuums and vending
Scan the QR code on the vacuum or vending machine. Vacuums sell time (minutes); vending sells credit in steps. Some washes give free vacuum minutes with a wash: look for the free vacuum minutes banner on your receipt and scan any vacuum at that location within the window.
Memberships and bundles
Buy a monthly membership or a wash bundle from the bay screen. A membership attaches to one vehicle (plate); bundles are a prepaid number of washes. Both show on the bay screen as Redeem instead of Pay.
Rate, report, redeem
After a wash the app asks for a rating. Report a problem on any receipt sends it straight to the owner with the transaction attached. Gift codes and promos go in under Redeem.
Rewards
Washes earn points where the owner runs a loyalty program. Points become vouchers you redeem from the bay screen.
I got an invite email
Your wash moved its memberships to Rinsepay and created your account. Tap Set your password in the email (the link lasts 14 days), choose a password, then add a card so the membership can bill. Until a card is on file the app shows Finish setting up. Already have a Rinsepay account with that email? The membership is attached to it; just sign in.
Owner setup
From a new account to a bay taking money in an afternoon. Do the sections in order the first time.
Account
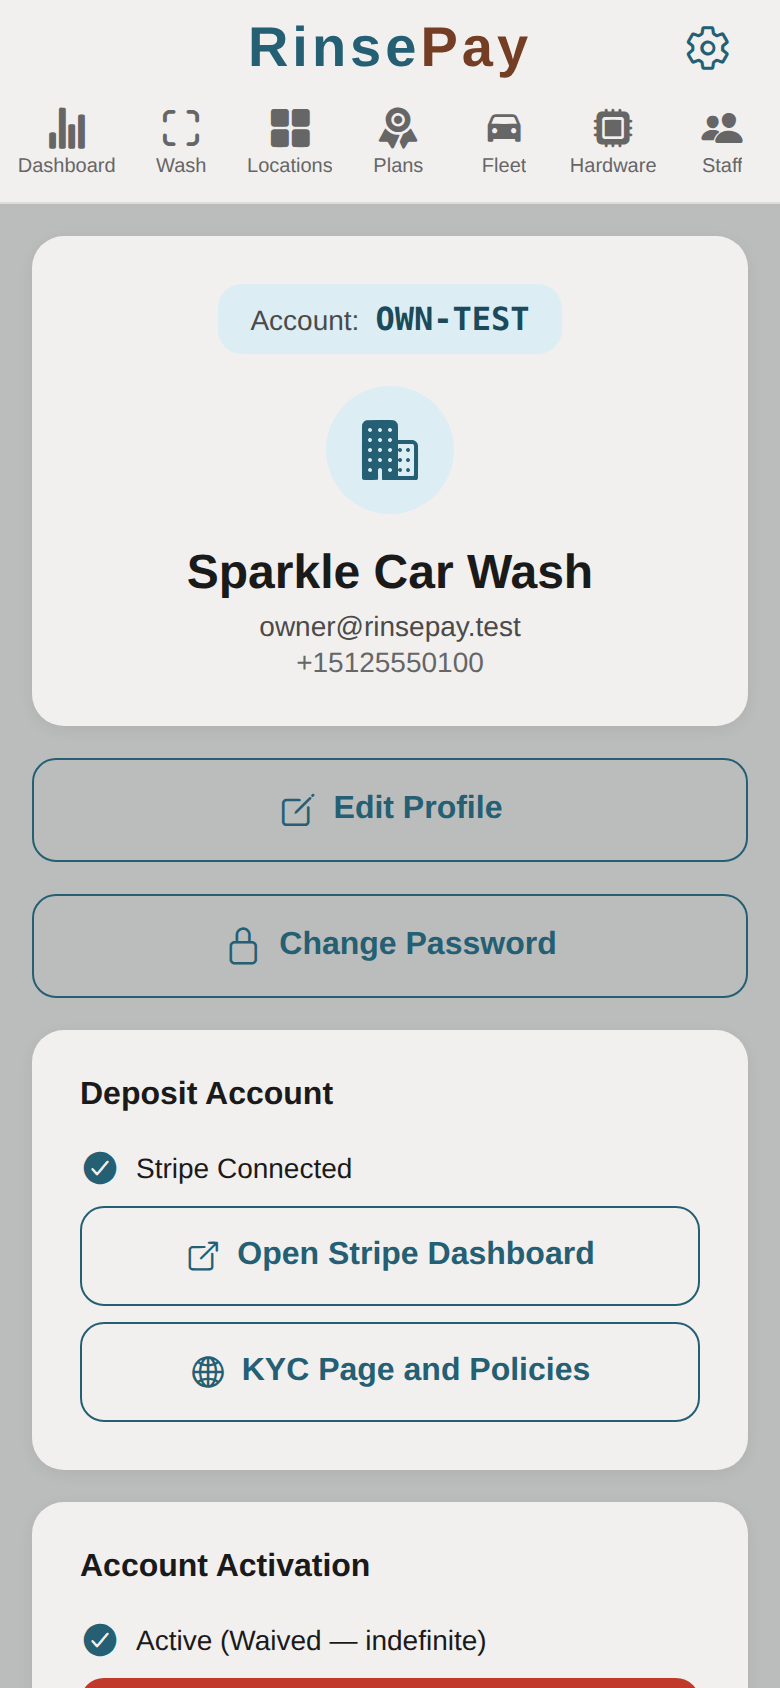
Sign up at rinsepay.app with the business email you want payouts to land under. Verify the email. Activation is $100 a month per owner account, charged once your Stripe payouts are set up; there is no per-location fee and the platform fee on transactions is 1%.
Order hardware
Two controllers, each for a job:
| Controller | Use it for | Price |
|---|---|---|
| DTW-4R (4 relays) | Self-serve bays, vacuums, vending machines | $55 |
| WS-8DI-8RO (8 relays, 8 inputs, PoE) | Automatic washes: tiers, add-ons, in-use and out-of-service sensing | $100 |
Order from Hardware → Shop. Each board ships with a QR label; you claim it from the app when it is online. Wiring lives in the hardware guide.
Stripe payouts
Settings → Set up Stripe payouts opens Stripe onboarding (identity, bank account). Until it is finished nothing can be sold. Payouts arrive on Stripe's schedule; the dashboard shows available and pending balances.
Location
Locations → Add location: name, address, phone, hours, tax rates, a support email customers see on receipts, and an out-of-service message used by every bay here when a sensor says the bay is down.

Equipment
Open the location and Add equipment: a self-serve bay, an automatic bay, a vacuum or a vending machine. Each one gets its own QR code (download and print it from the bay card).
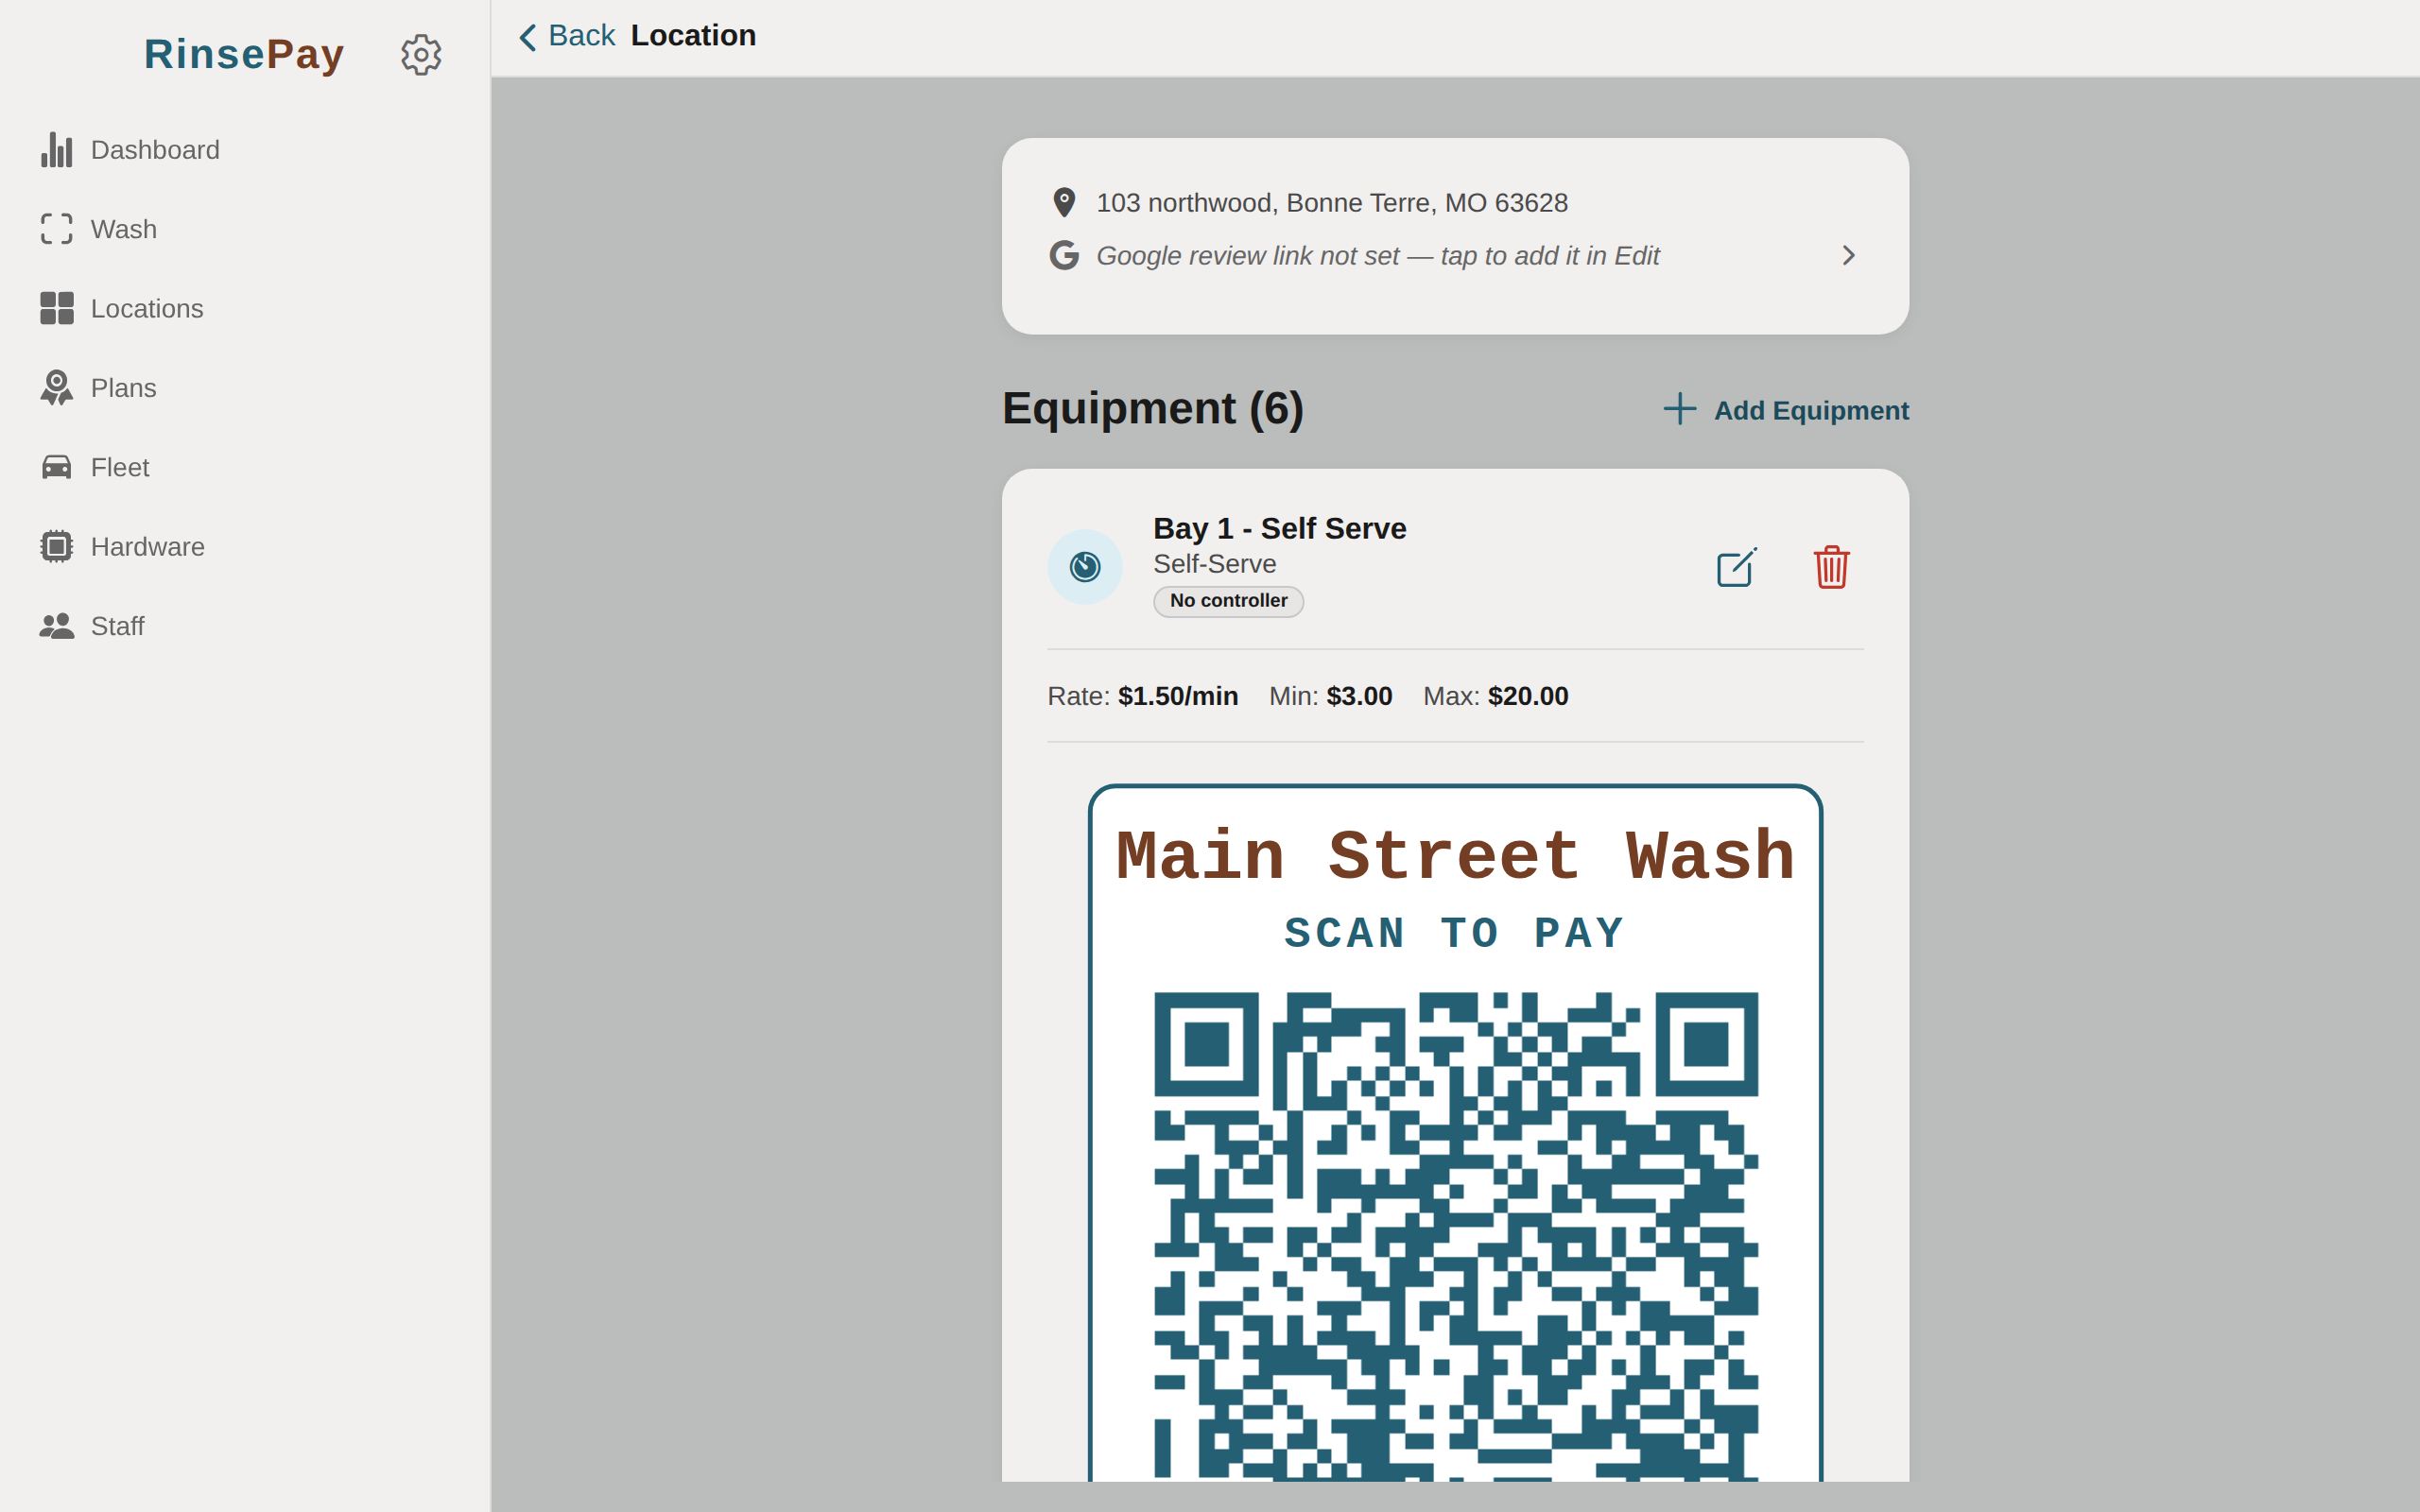
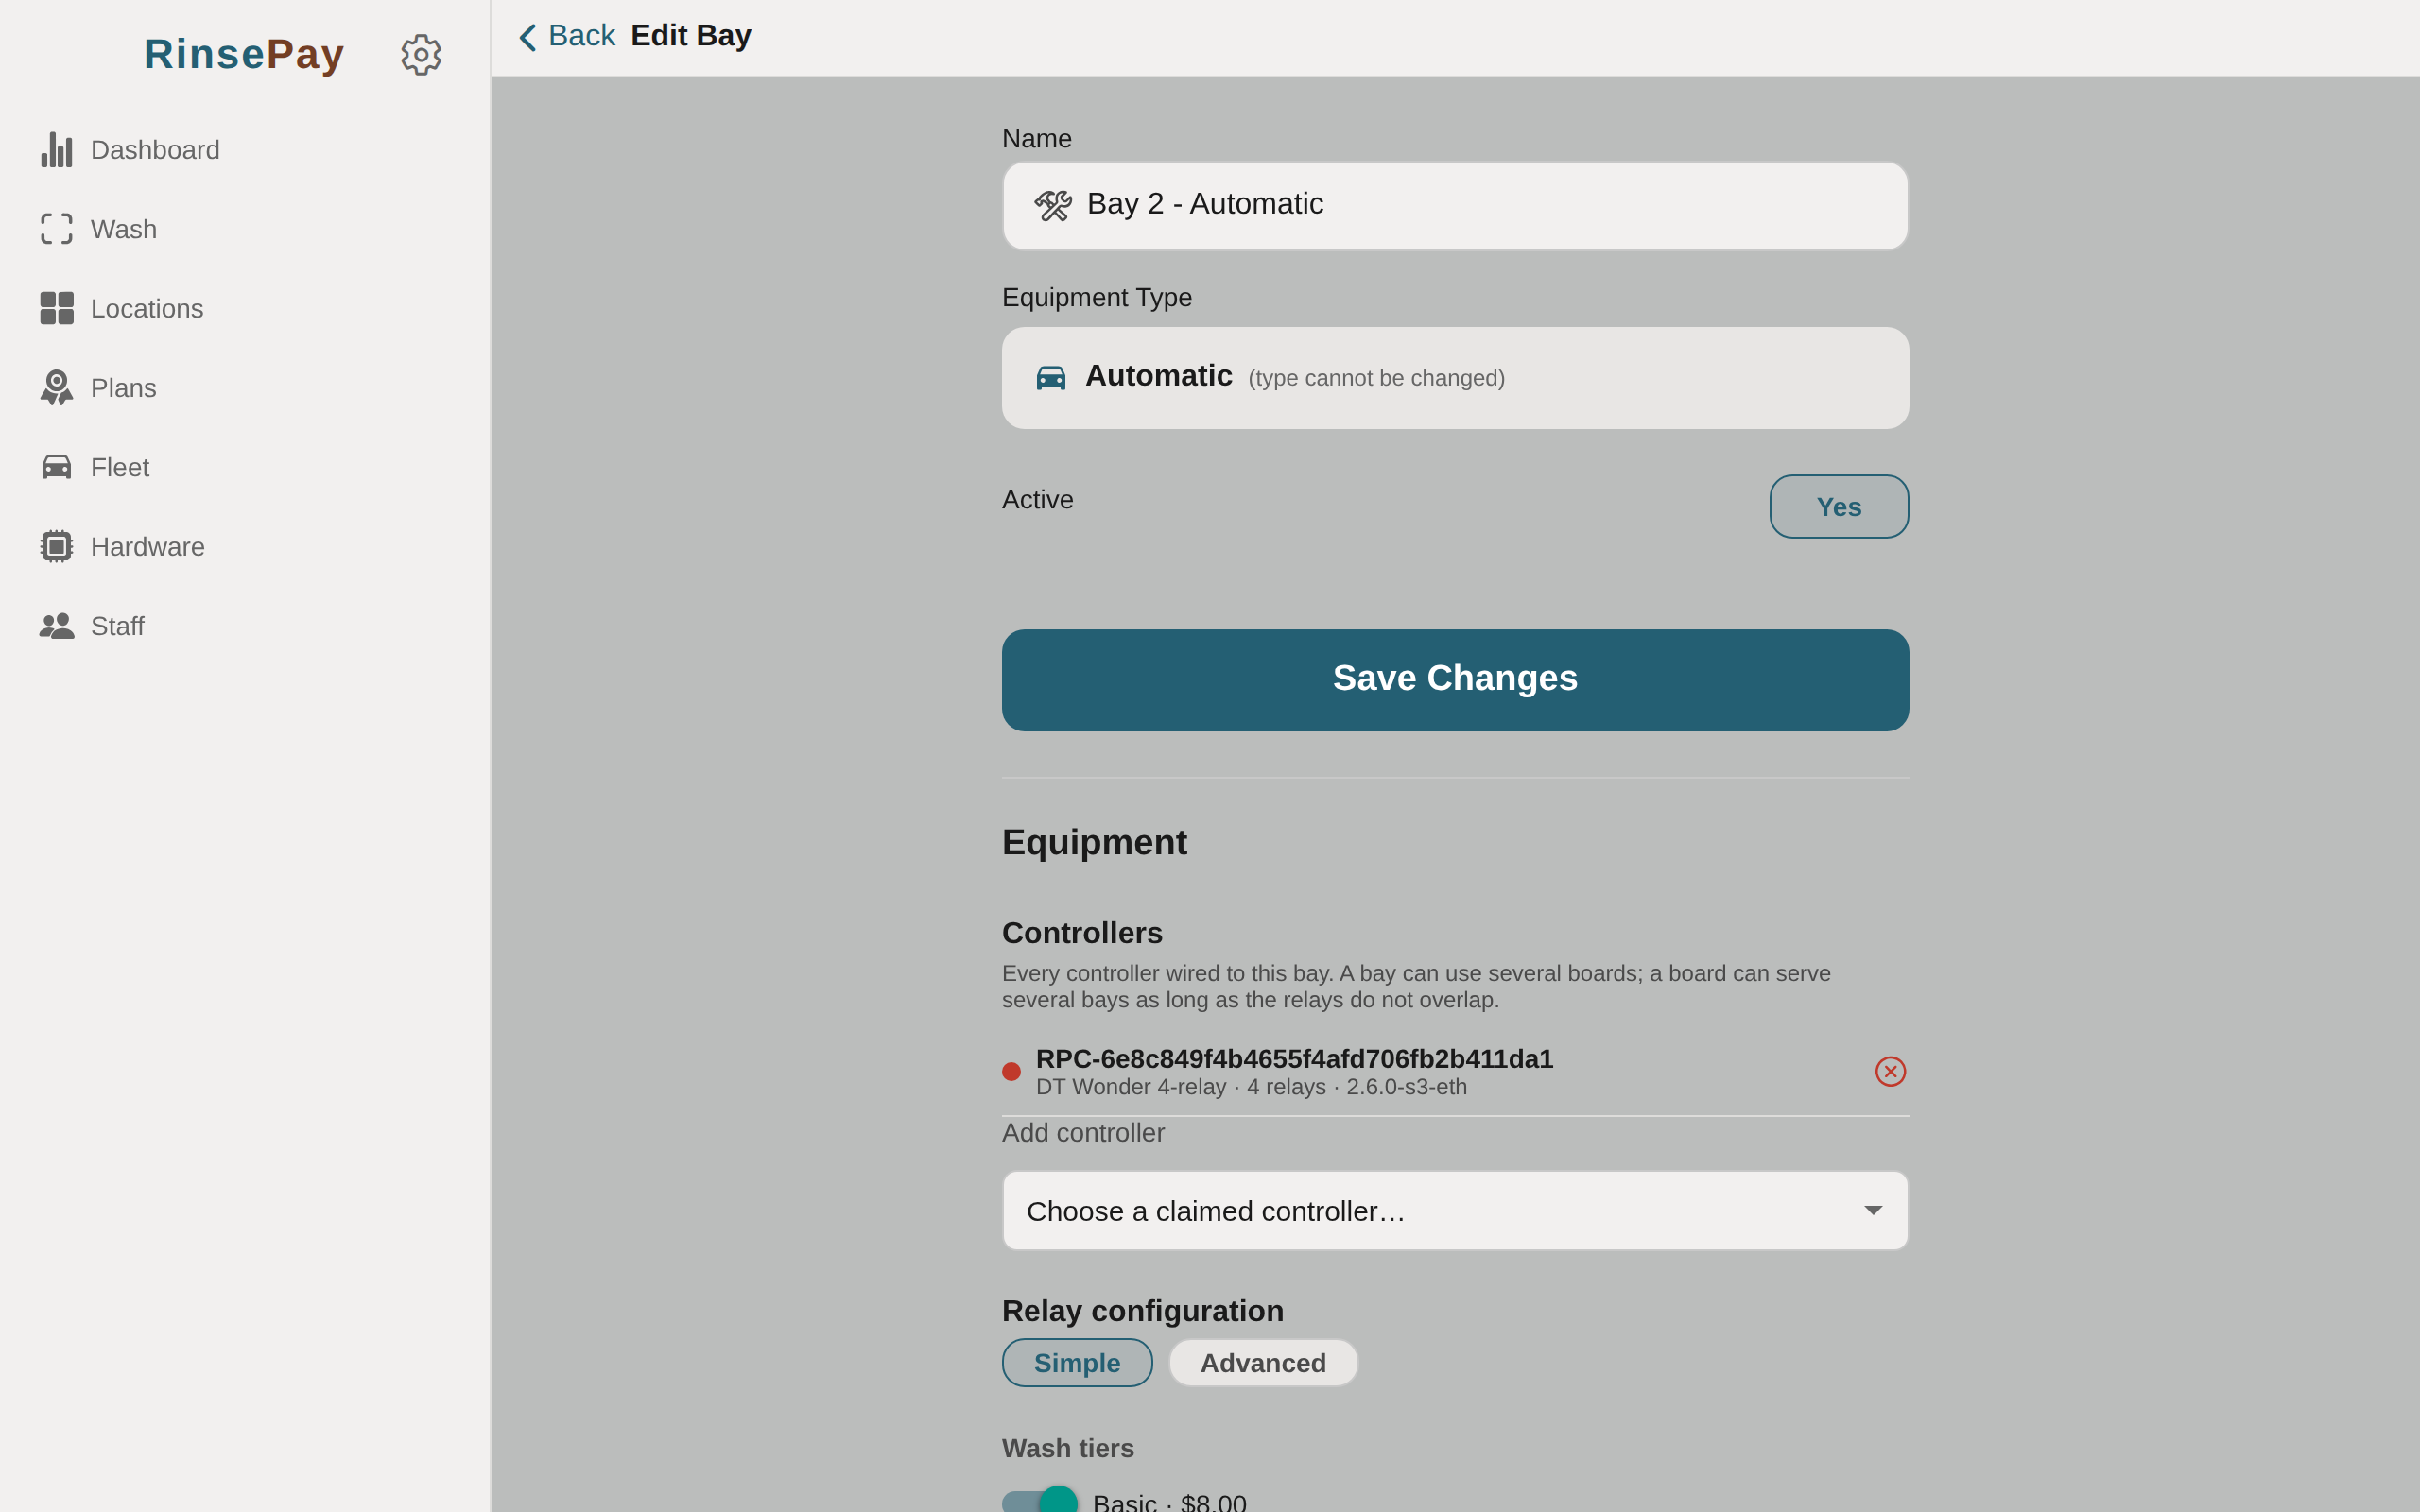
The bay editor has two halves. The top is pricing (below). The Equipment card at the bottom is the controller setup:
- Controllers: add one or more claimed boards. A board can serve several bays as long as the relays do not overlap.
- Simple mode (start here): every wash tier from your catalog gets a row: on/off, controller, relay, pulse time. Every upsell gets the same plus a price for this bay and a delay after the tier. Self-serve bays and vacuums map a coin relay and a timer relay instead.
- Inputs (WS-8DI-8RO only): per input choose In operation, Out of service, Coin pulse (cents per pulse) or Cycle complete, and the polarity: Signal = active or No signal = active. The dot shows the live level.
- Behavior: allow purchases while the bay is in use (they queue, with an automatic refund after the wait you set) or block them; the out-of-service message; whether you get an email when the bay goes down or comes back, and how short an outage to ignore (default 300 seconds).
- Advanced mode when one relay per action is not enough: build each action as steps (relays on for N ms, wait N ms, more relays), see the relay map per board, and test run any action without charging anyone.
Pricing
Self-serve bays and vacuums have a per-minute rate, a minimum and maximum, packages (preset amounts) and optional custom amounts. Automatic bays sell tiers from the catalog.
Wash Tiers & Upsells
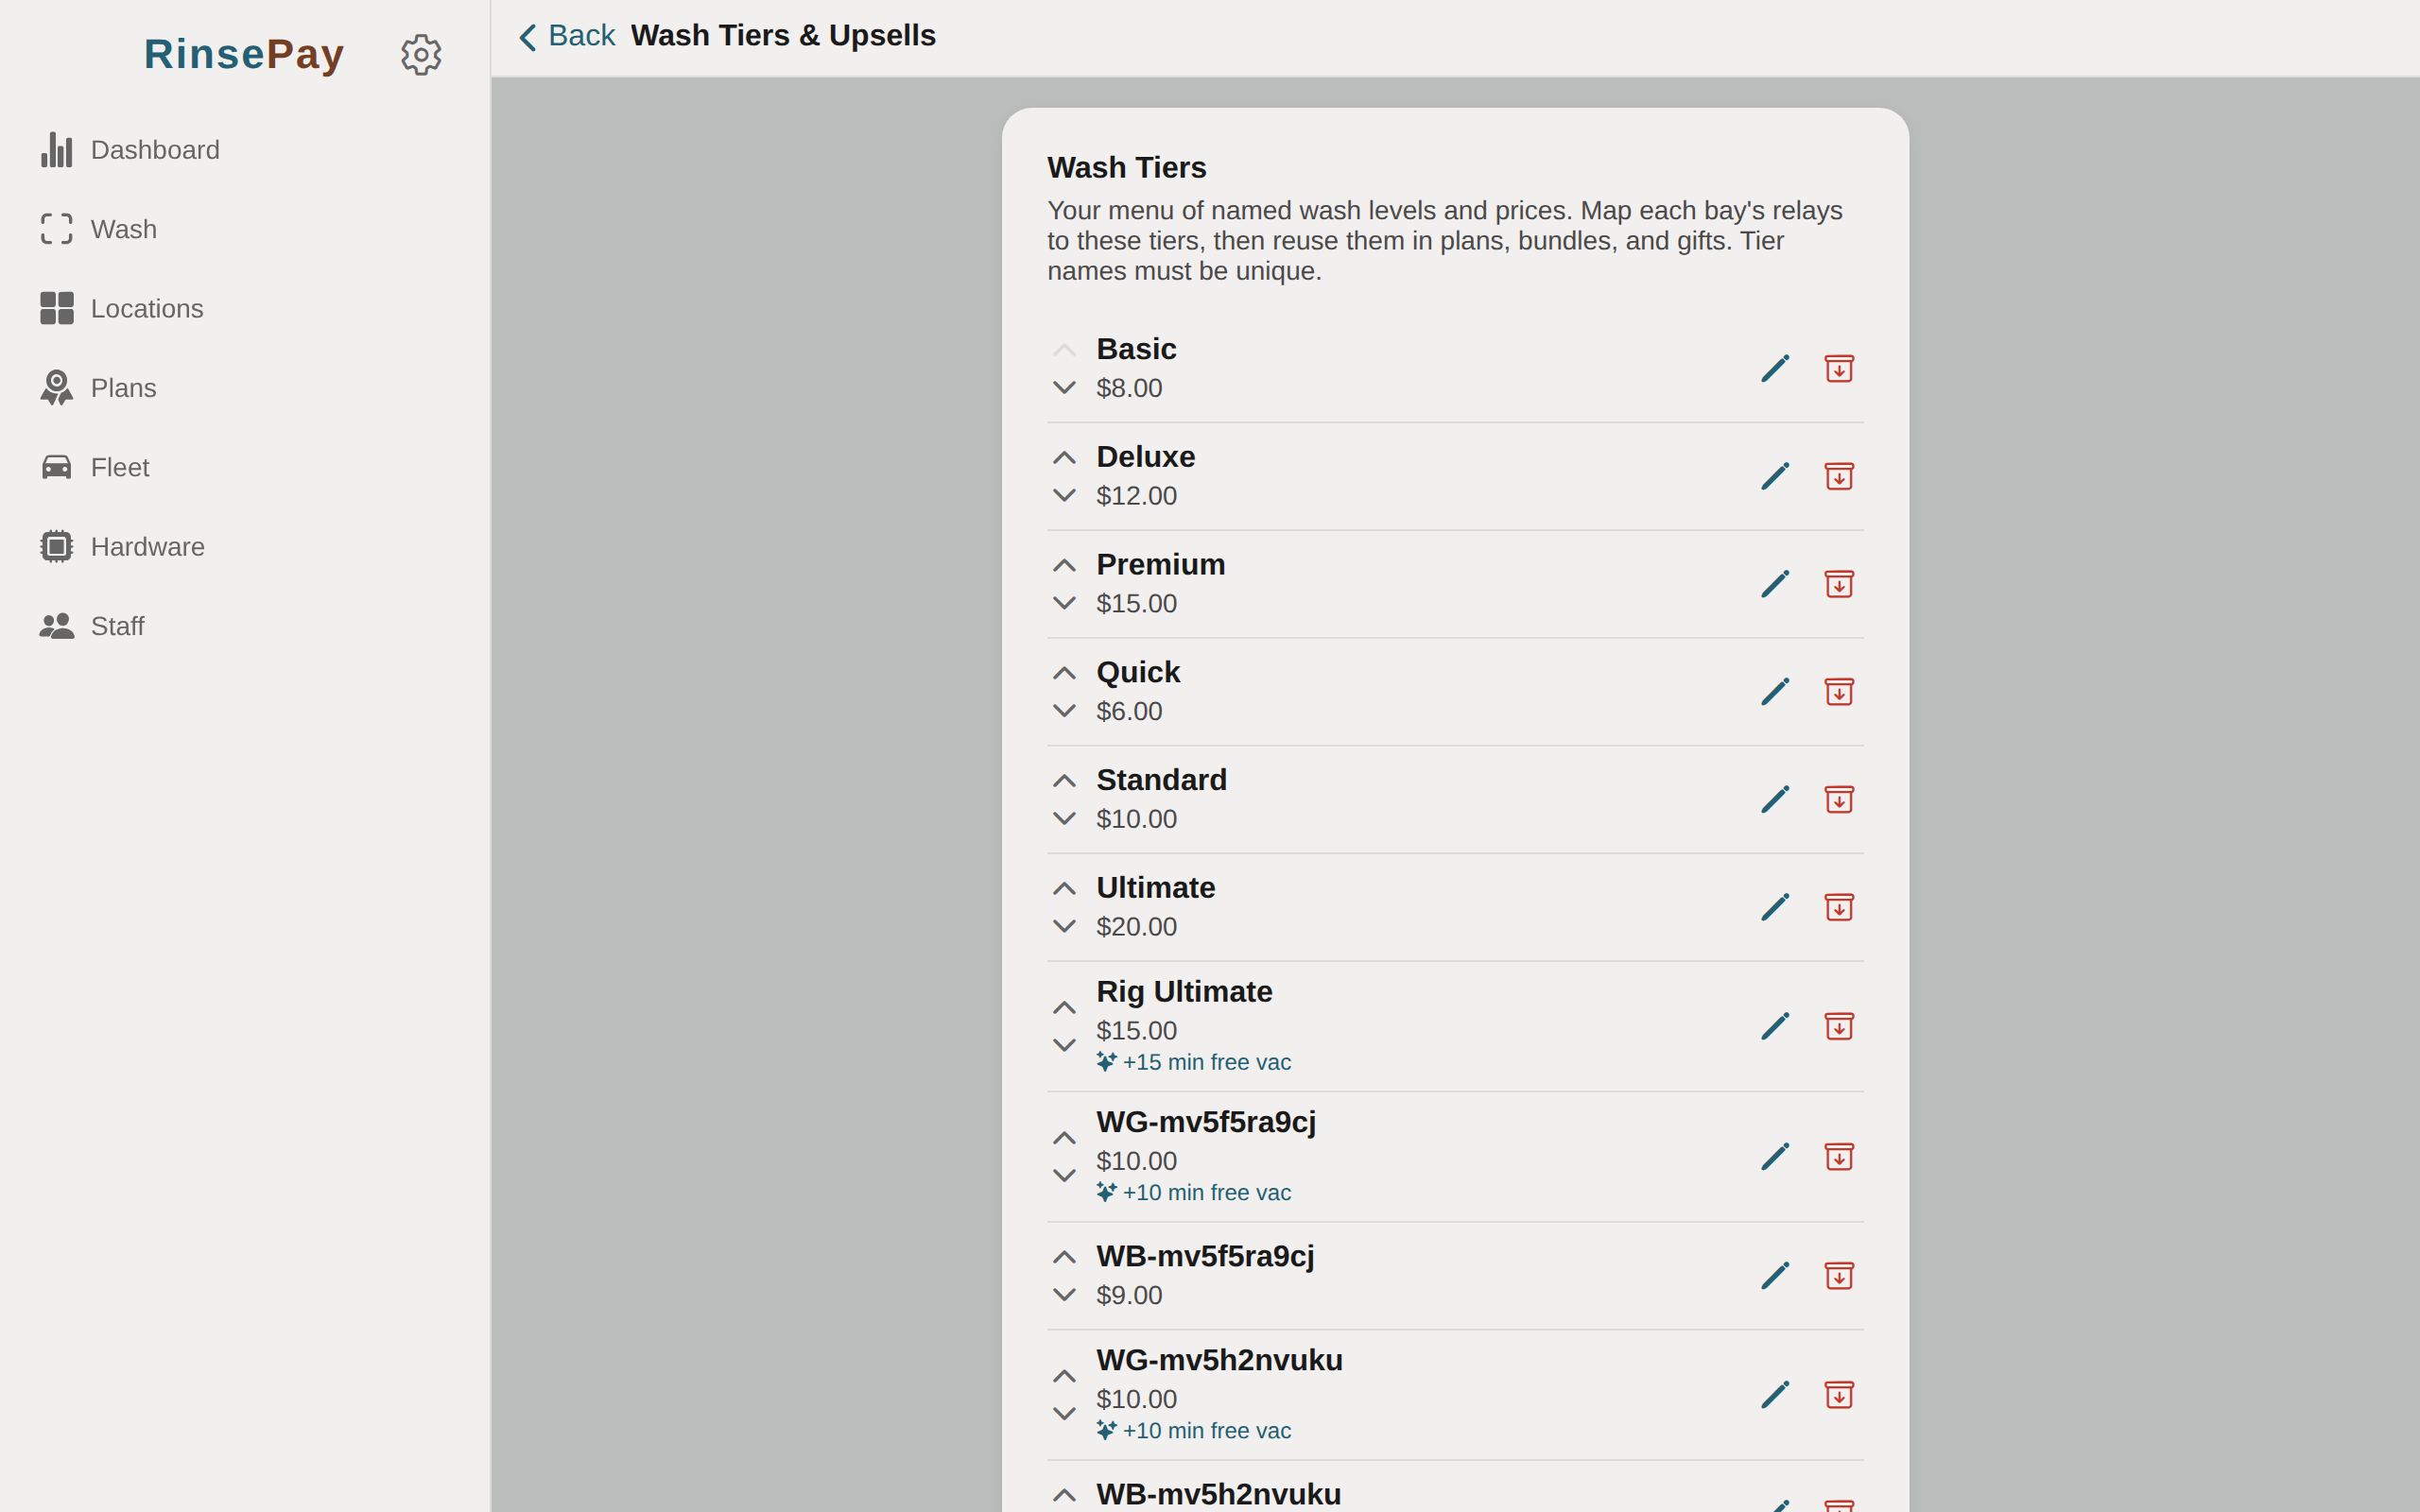
Plans → Wash Tiers & Upsells is the catalog: tiers (Basic, Deluxe…) with prices, and upsells (hot wax, tire shine, dryer…) with a catalog price and a default delay after the tier. Bays map these to relays; a bay can override an upsell's price.
Memberships
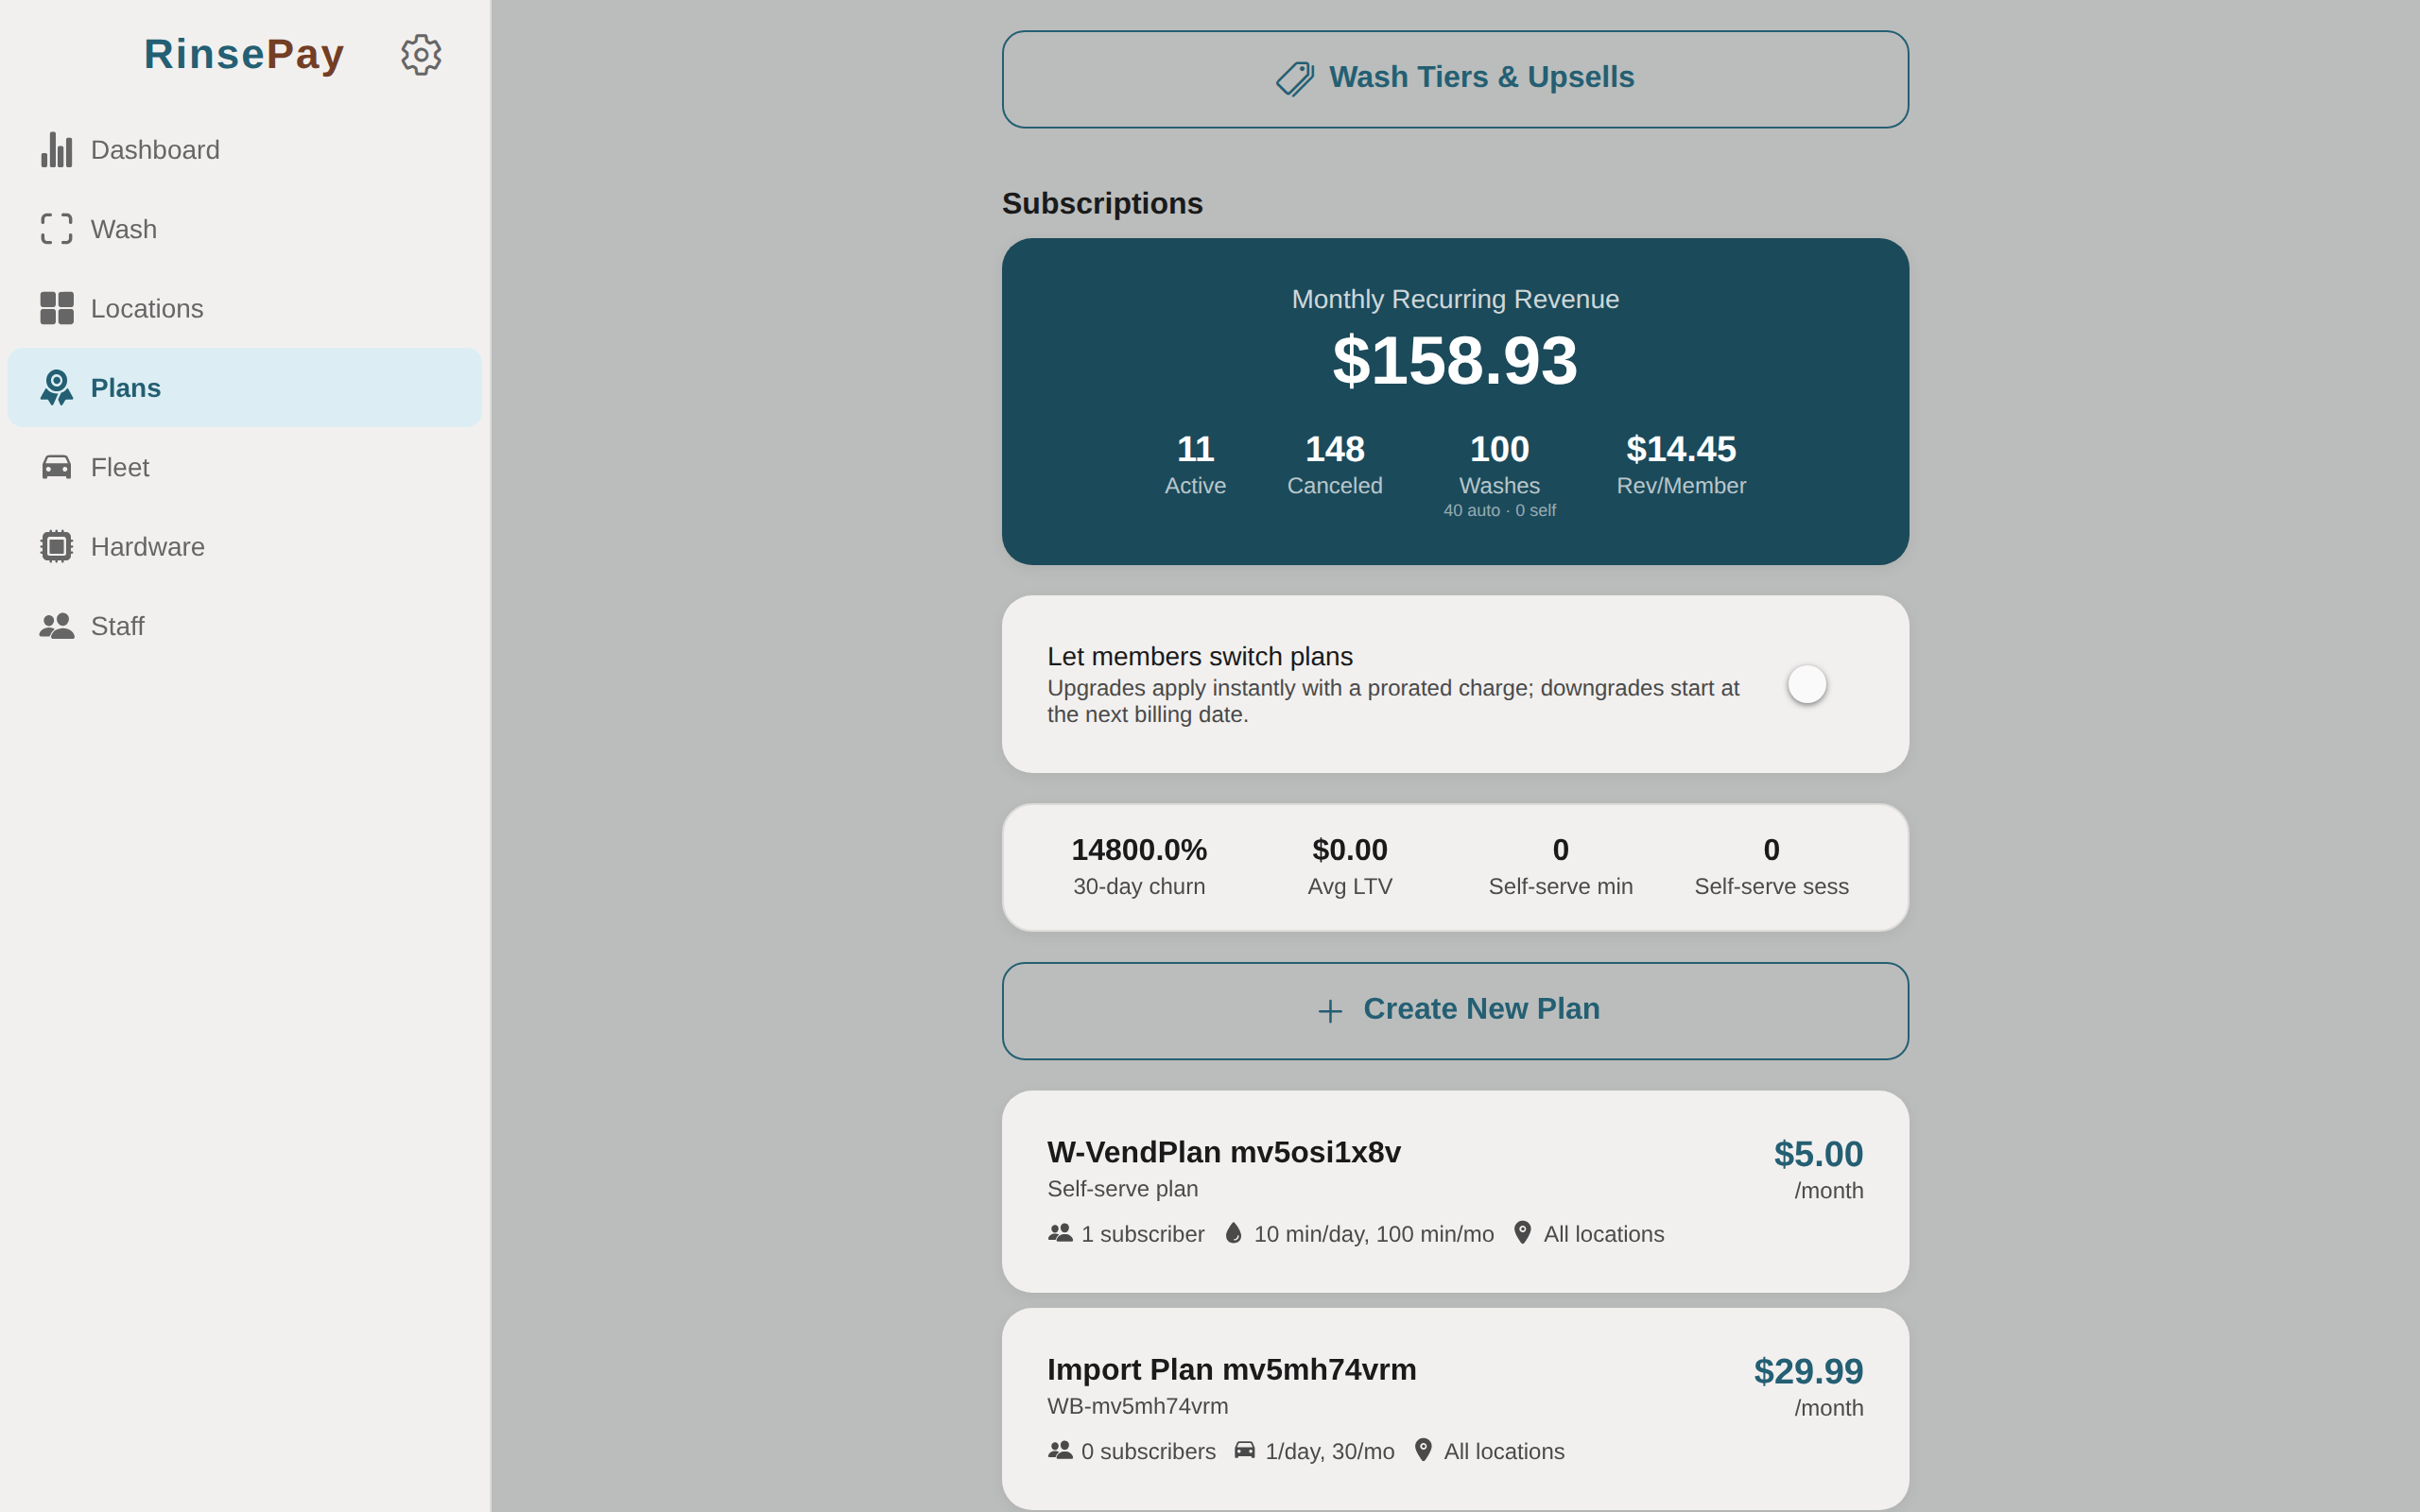
Plans → Memberships: monthly plans with wash limits per day and month, location scope, and the upsells the plan includes for free. Members redeem from the bay screen; the vehicle plate on the membership is checked at the bay.
Bundles
Prepaid packs of washes (or vacuum minutes and vending credit) at a discount. Customers buy them from the bay screen and redeem one at a time.
Fleet accounts
Companies wash on account and get invoiced. Create the fleet account, add vehicles and drivers (or let them apply from the sign-up QR), set a pricing tier and payment terms. Invoices generate monthly or weekly, by themselves if you turn that on.
Vacuums and vending
Vacuums are bays of type vacuum: minutes for money, a coin relay or a timer relay on a DTW-4R. Vending machines inject credit in steps through one relay. Both get their own QR code.
Attendants
Staff: add attendants with a PIN, hourly rate and locations. They clock in from the app, can comp washes and issue reward vouchers, and payroll reports cover their shifts.
Customer import
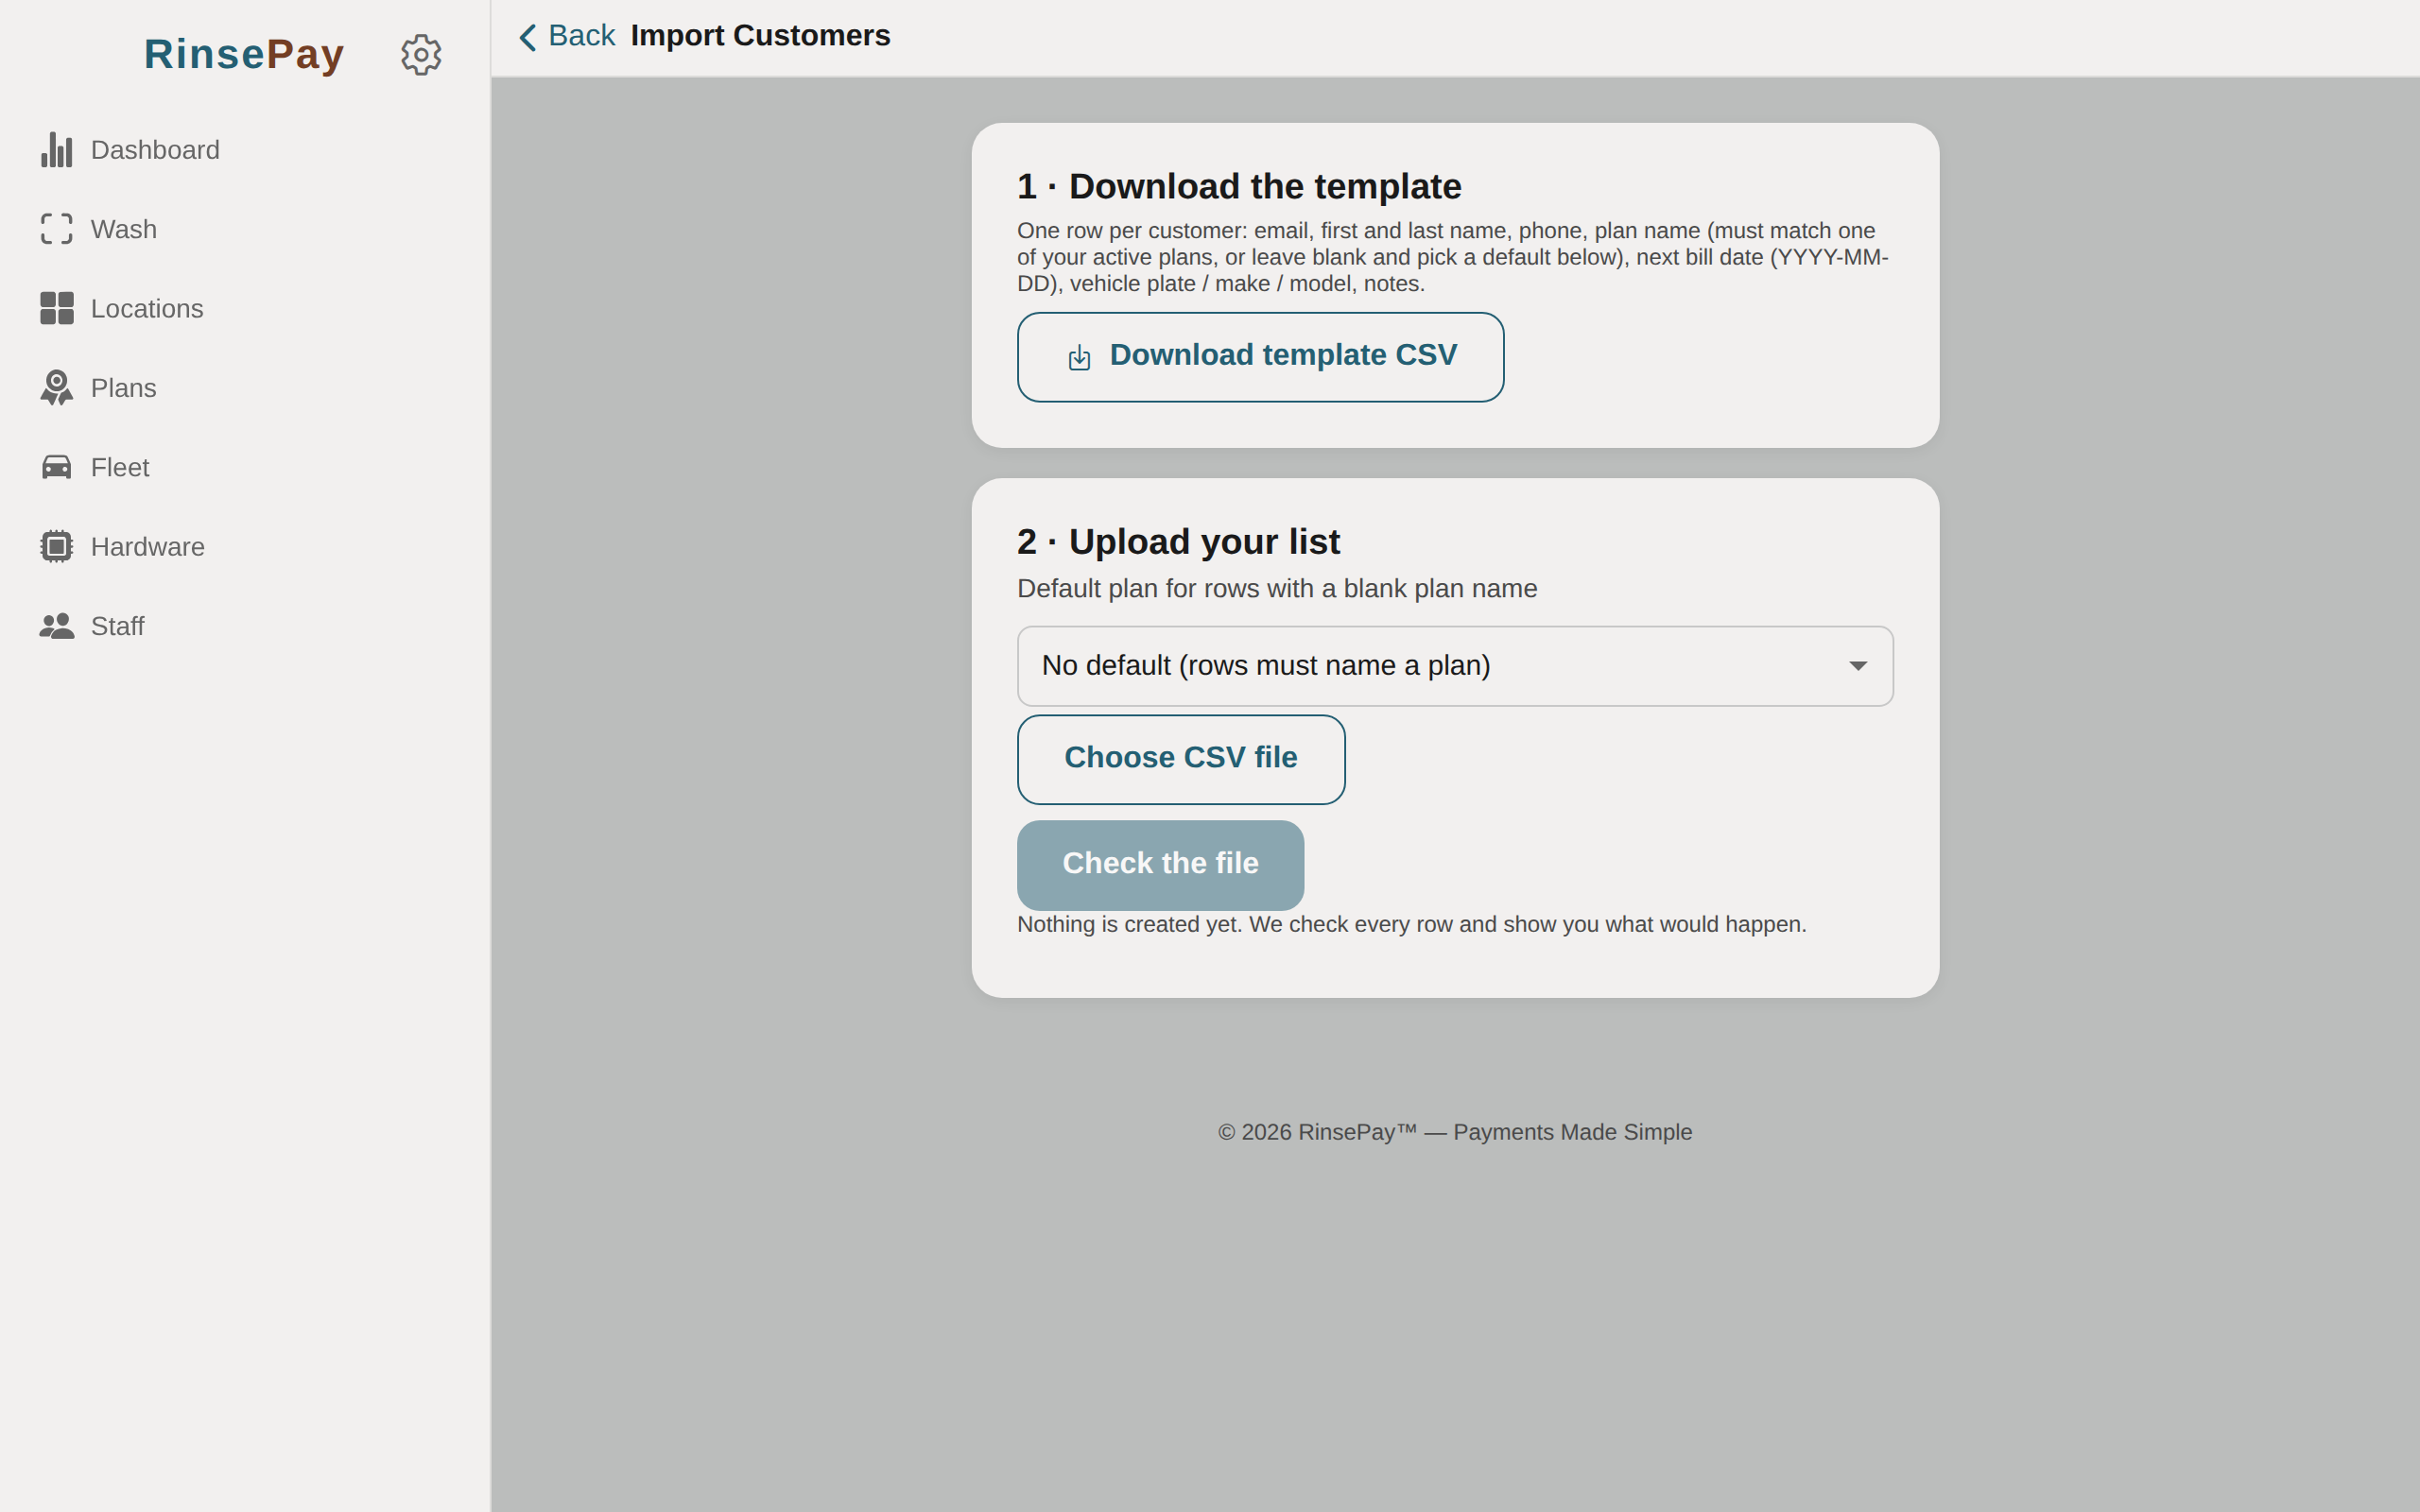
Moving from another system? Customers → Import customers:
- Download the CSV template (email, first and last name, phone, plan name, next bill date, vehicle plate, make, model, notes).
- Upload it. Every row is checked: unknown plans, bad emails, duplicates, people who already have a membership with you, people who already have a Rinsepay account (they are linked, not duplicated).
- Pick the billing mode: Active now, card required by a date (memberships work immediately, the first charge is on the bill date, a grace period to add a card) or Pending until the customer finishes setup.
- Confirm. Accounts and memberships are created in the background and every customer gets an email: set a password (new accounts) or your membership is ready (existing accounts). Reminders go out on day 3 and day 10. The import page shows invited, accepted, card added, awaiting card and paused, with resend buttons.
Email alerts
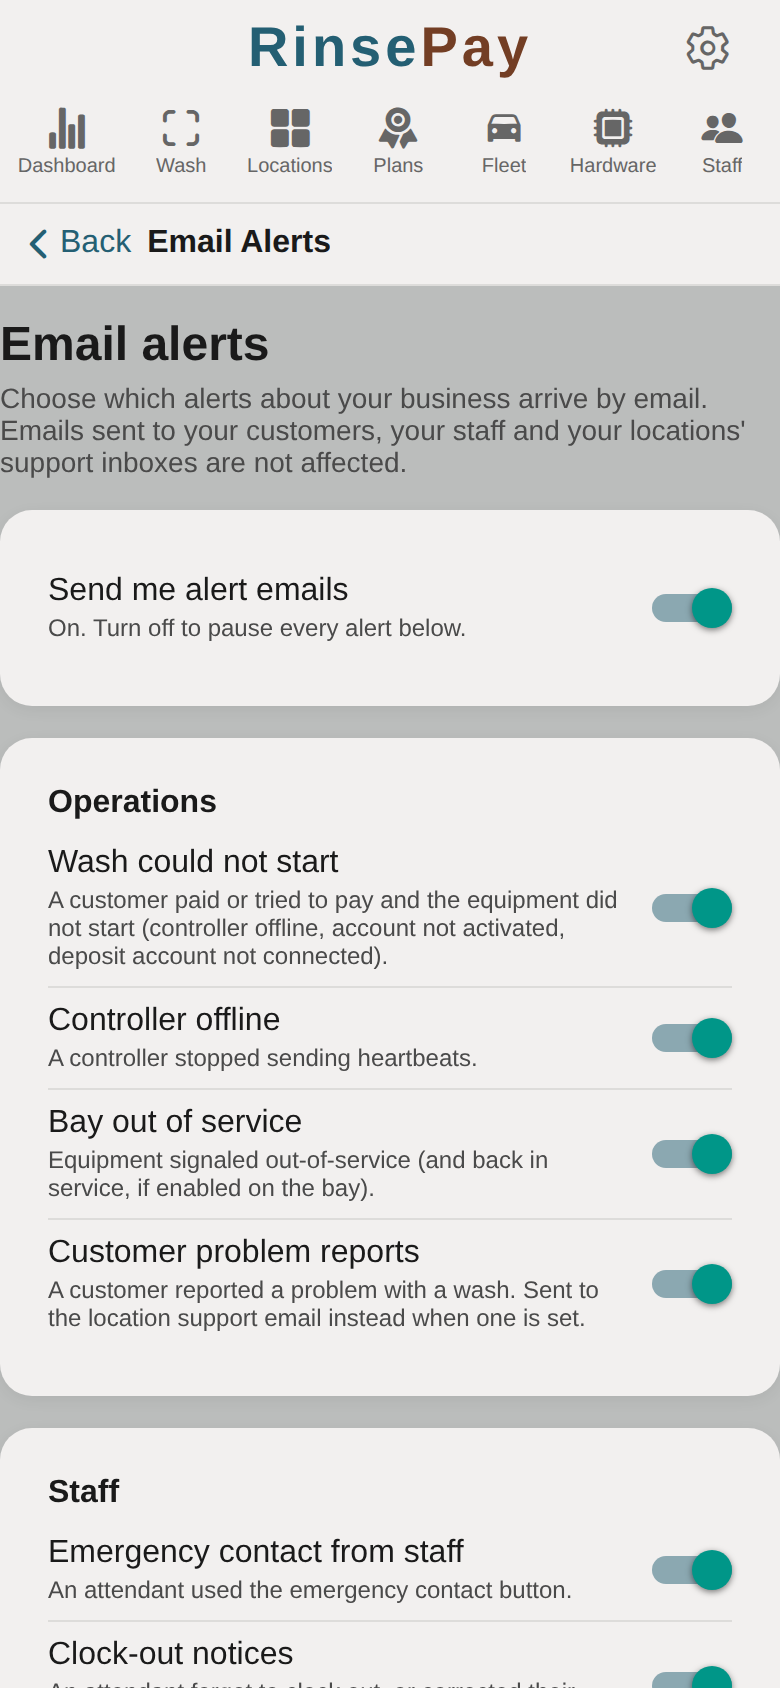
Settings → Email Alerts: pick which alerts arrive by email: wash failures, controllers offline, bays out of service, problem reports, staff notices, fleet requests, billing, scheduled reports, import summaries. A master switch turns them all off.
API access
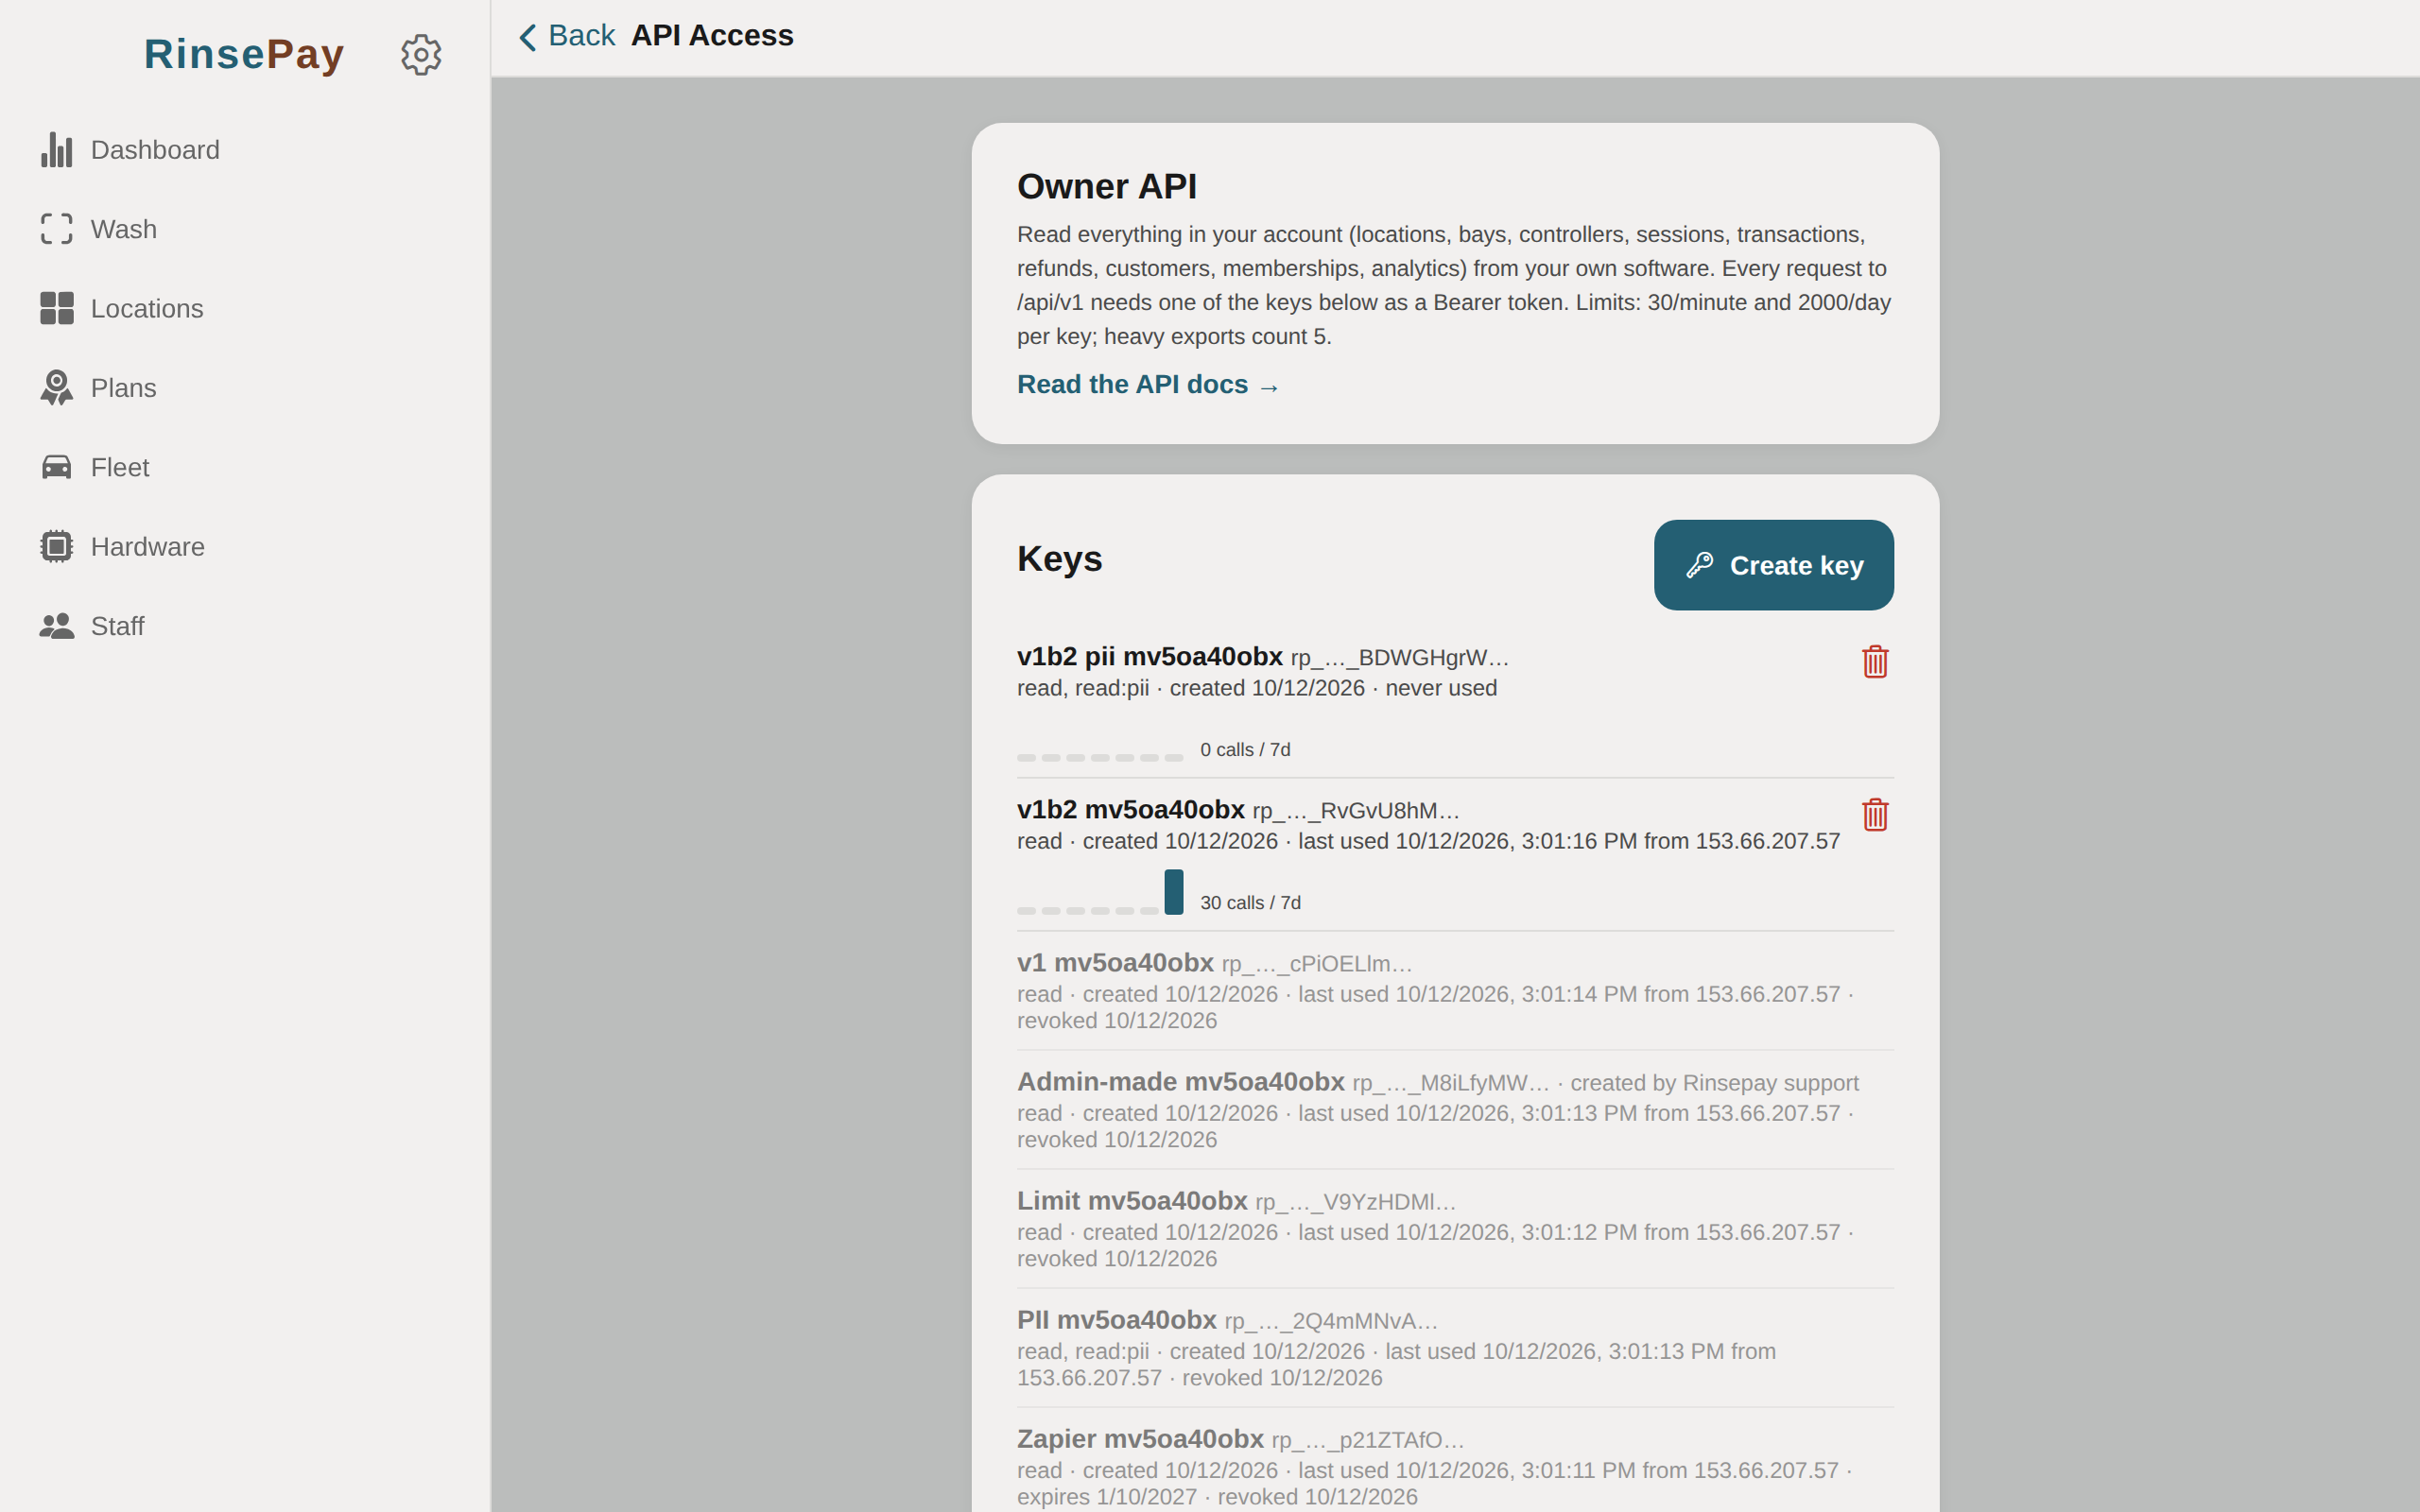
Settings → API Access creates keys for your own software to read everything in the account: locations, bays and their live state, controllers, sessions, transactions with line items, customers, memberships, fleet, reports. Keys are shown once; tick Include customer contact details only when the integration needs them. Docs and the interactive reference are at /api/.
Reports
The dashboard shows revenue by range, today, active bays, ratings and cash counted by coin-pulse inputs; drill into revenue by bay, payment method, package or add-on. P&L, sales tax and payroll export to CSV and PDF, and scheduled reports can email themselves monthly.

Hardware status
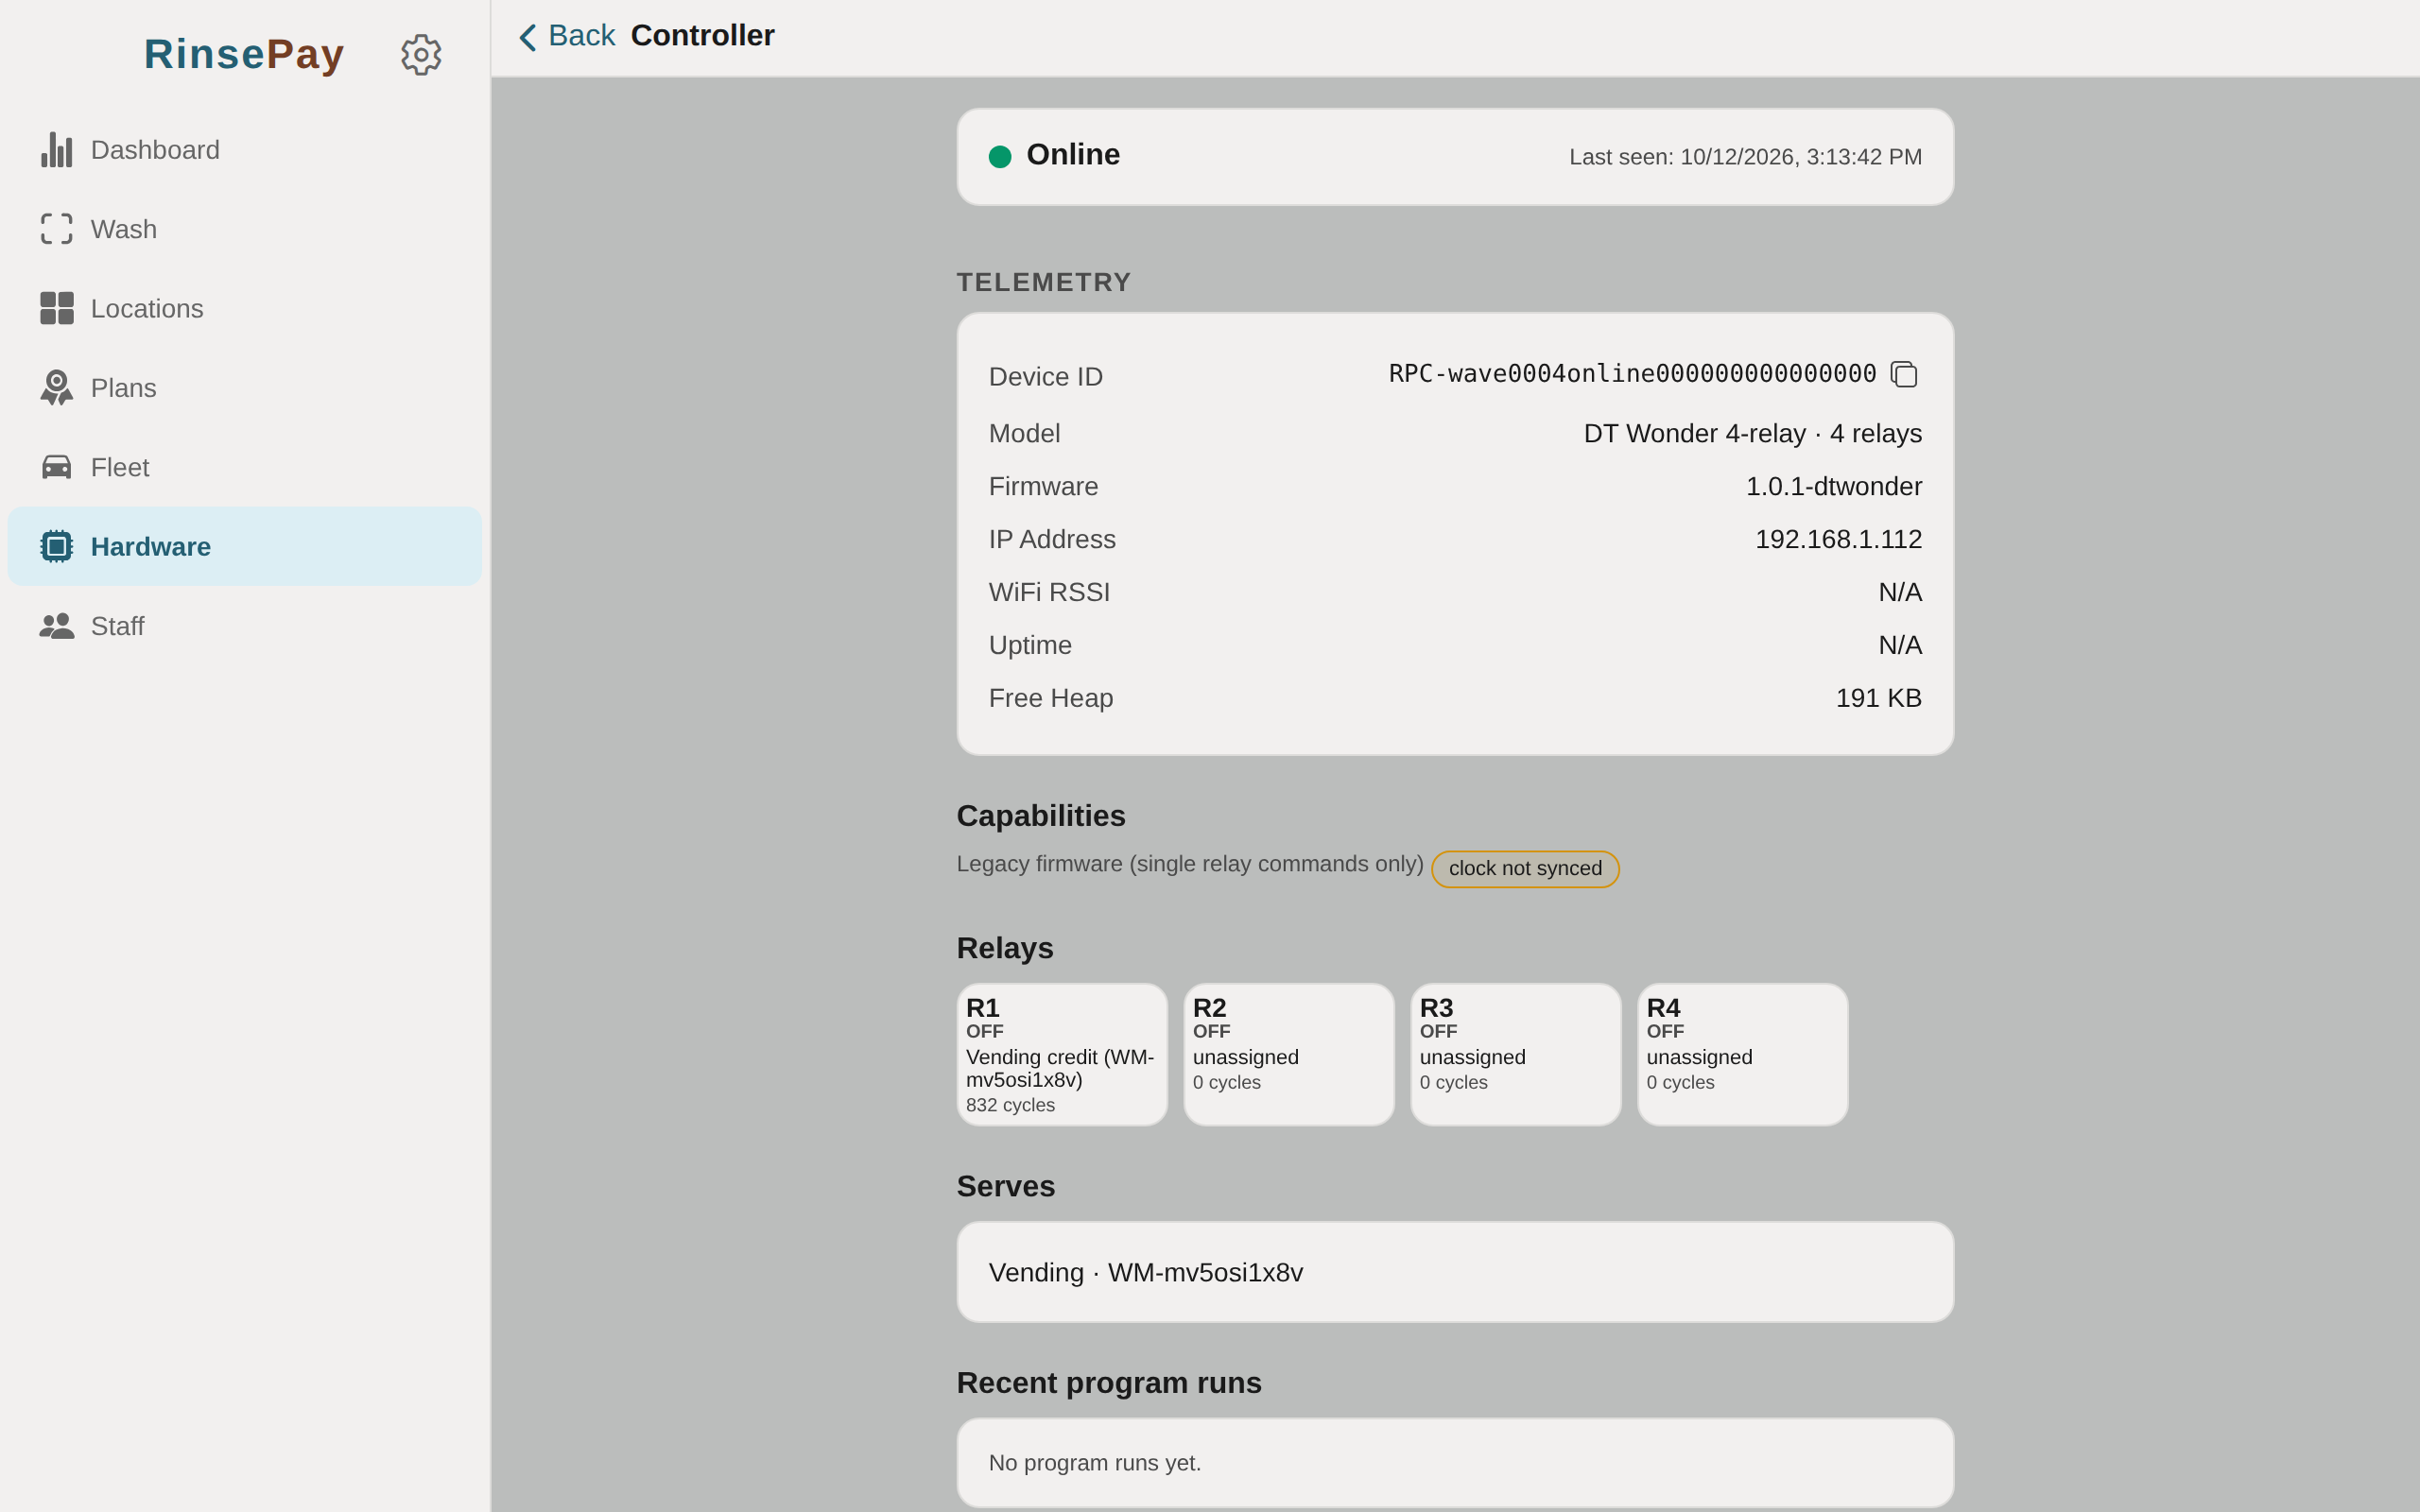
Hardware → Controllers lists every board with its model, firmware and online state. The detail page shows each relay with the action it drives, each input with its live level and function, the buzzer switch on the WS-8DI-8RO, recent program runs and input events. Firmware updates install themselves overnight when the board is idle.
Fleet manager setup
You run a company's vehicles at a wash that uses Rinsepay.
- Apply or get invited. Scan the wash's fleet sign-up QR code or accept the owner's invite email. The owner approves the account and sets your pricing.
- Add vehicles and drivers. In the app under Fleet: plates, makes, models, departments, monthly limits per vehicle; invite drivers by email so they can wash on the account.
- Washing. Drivers scan the QR code at the bay and pick Charge to fleet. Nothing is paid at the bay.
- Invoices. Invoices arrive by email on the owner's schedule with every wash listed; pay by card from the invoice link or on the terms you agreed.
Attendant setup
The owner adds you under Staff and gives you a PIN.
- Sign in with your email and the password from your welcome email, then your PIN to clock in at a location.
- Help customers: start a comp wash on any bay, add time, issue a reward voucher from the templates the owner set up, look up a customer.
- Clock out at the end of the shift; forgotten clock-outs are flagged to the owner.